Before you can send a campaign to a given email address, it must first be validated. This ensures that you have ownership of the mailbox, before you go and send a deluge of emails to an unsuspecting victim!
To configure a new validated email address, complete these steps:
- Navigate to the Settings portal. Here you’ll see your currently available mailboxes in the
Validated Mailboxessection.
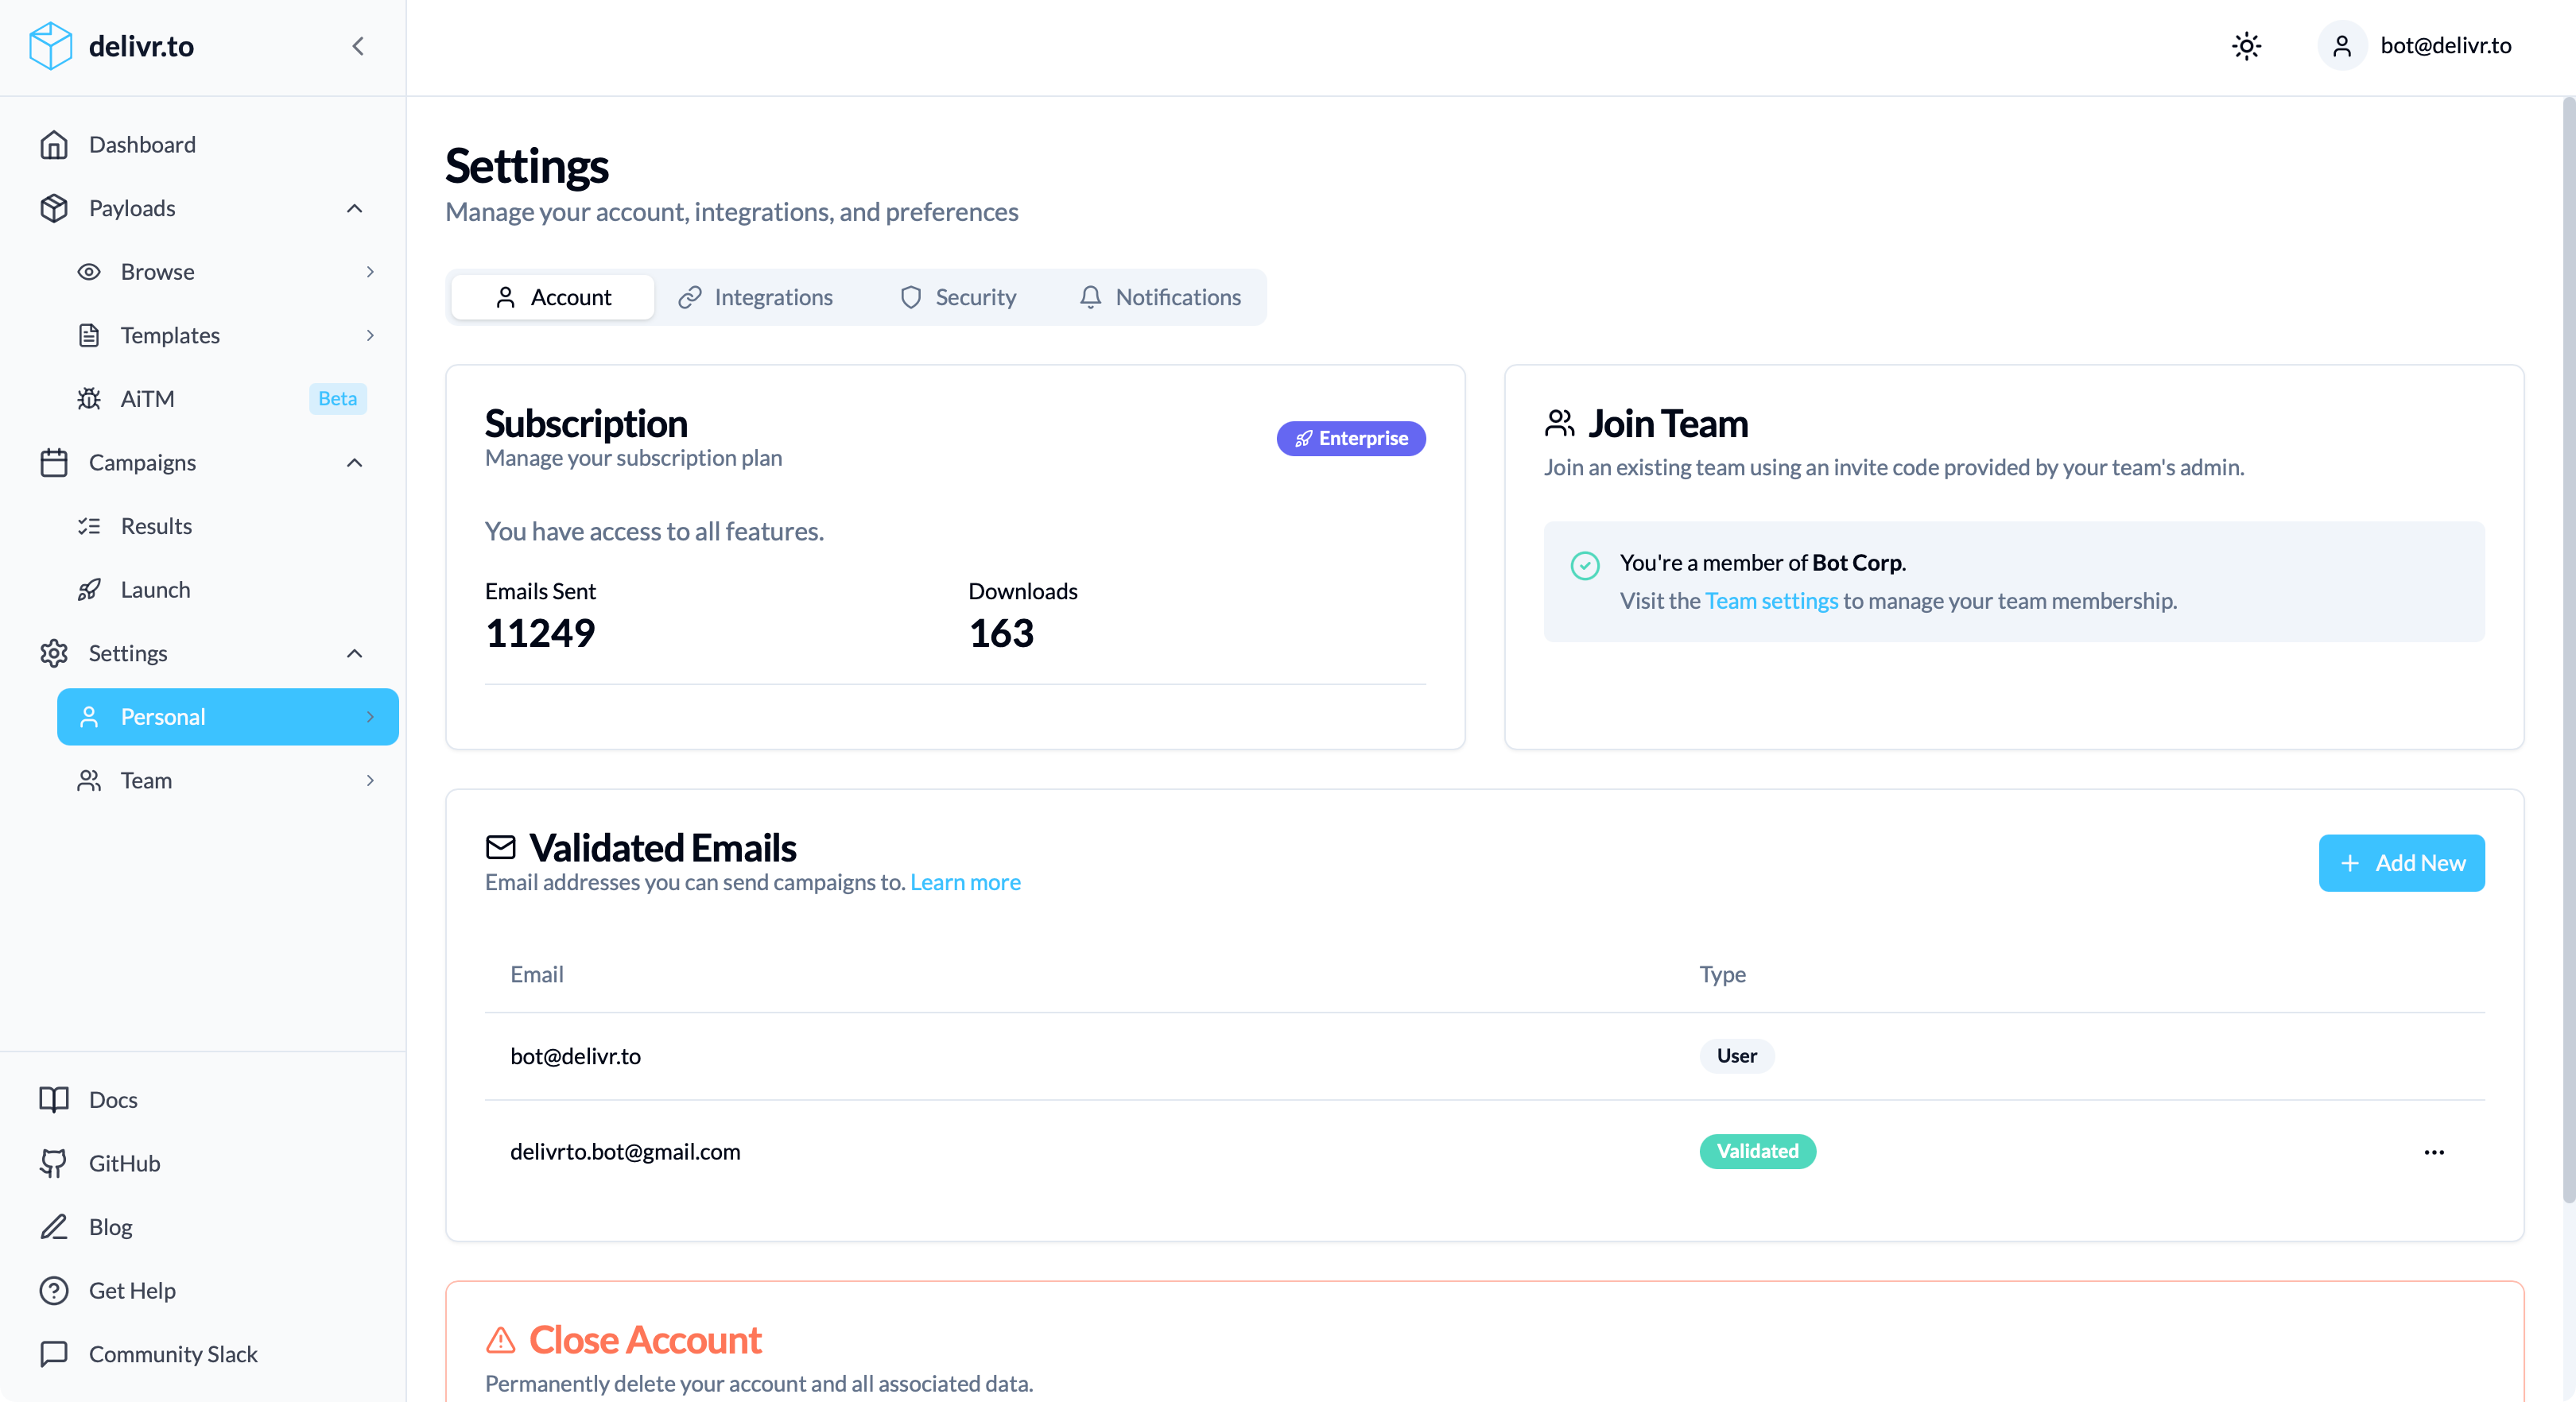
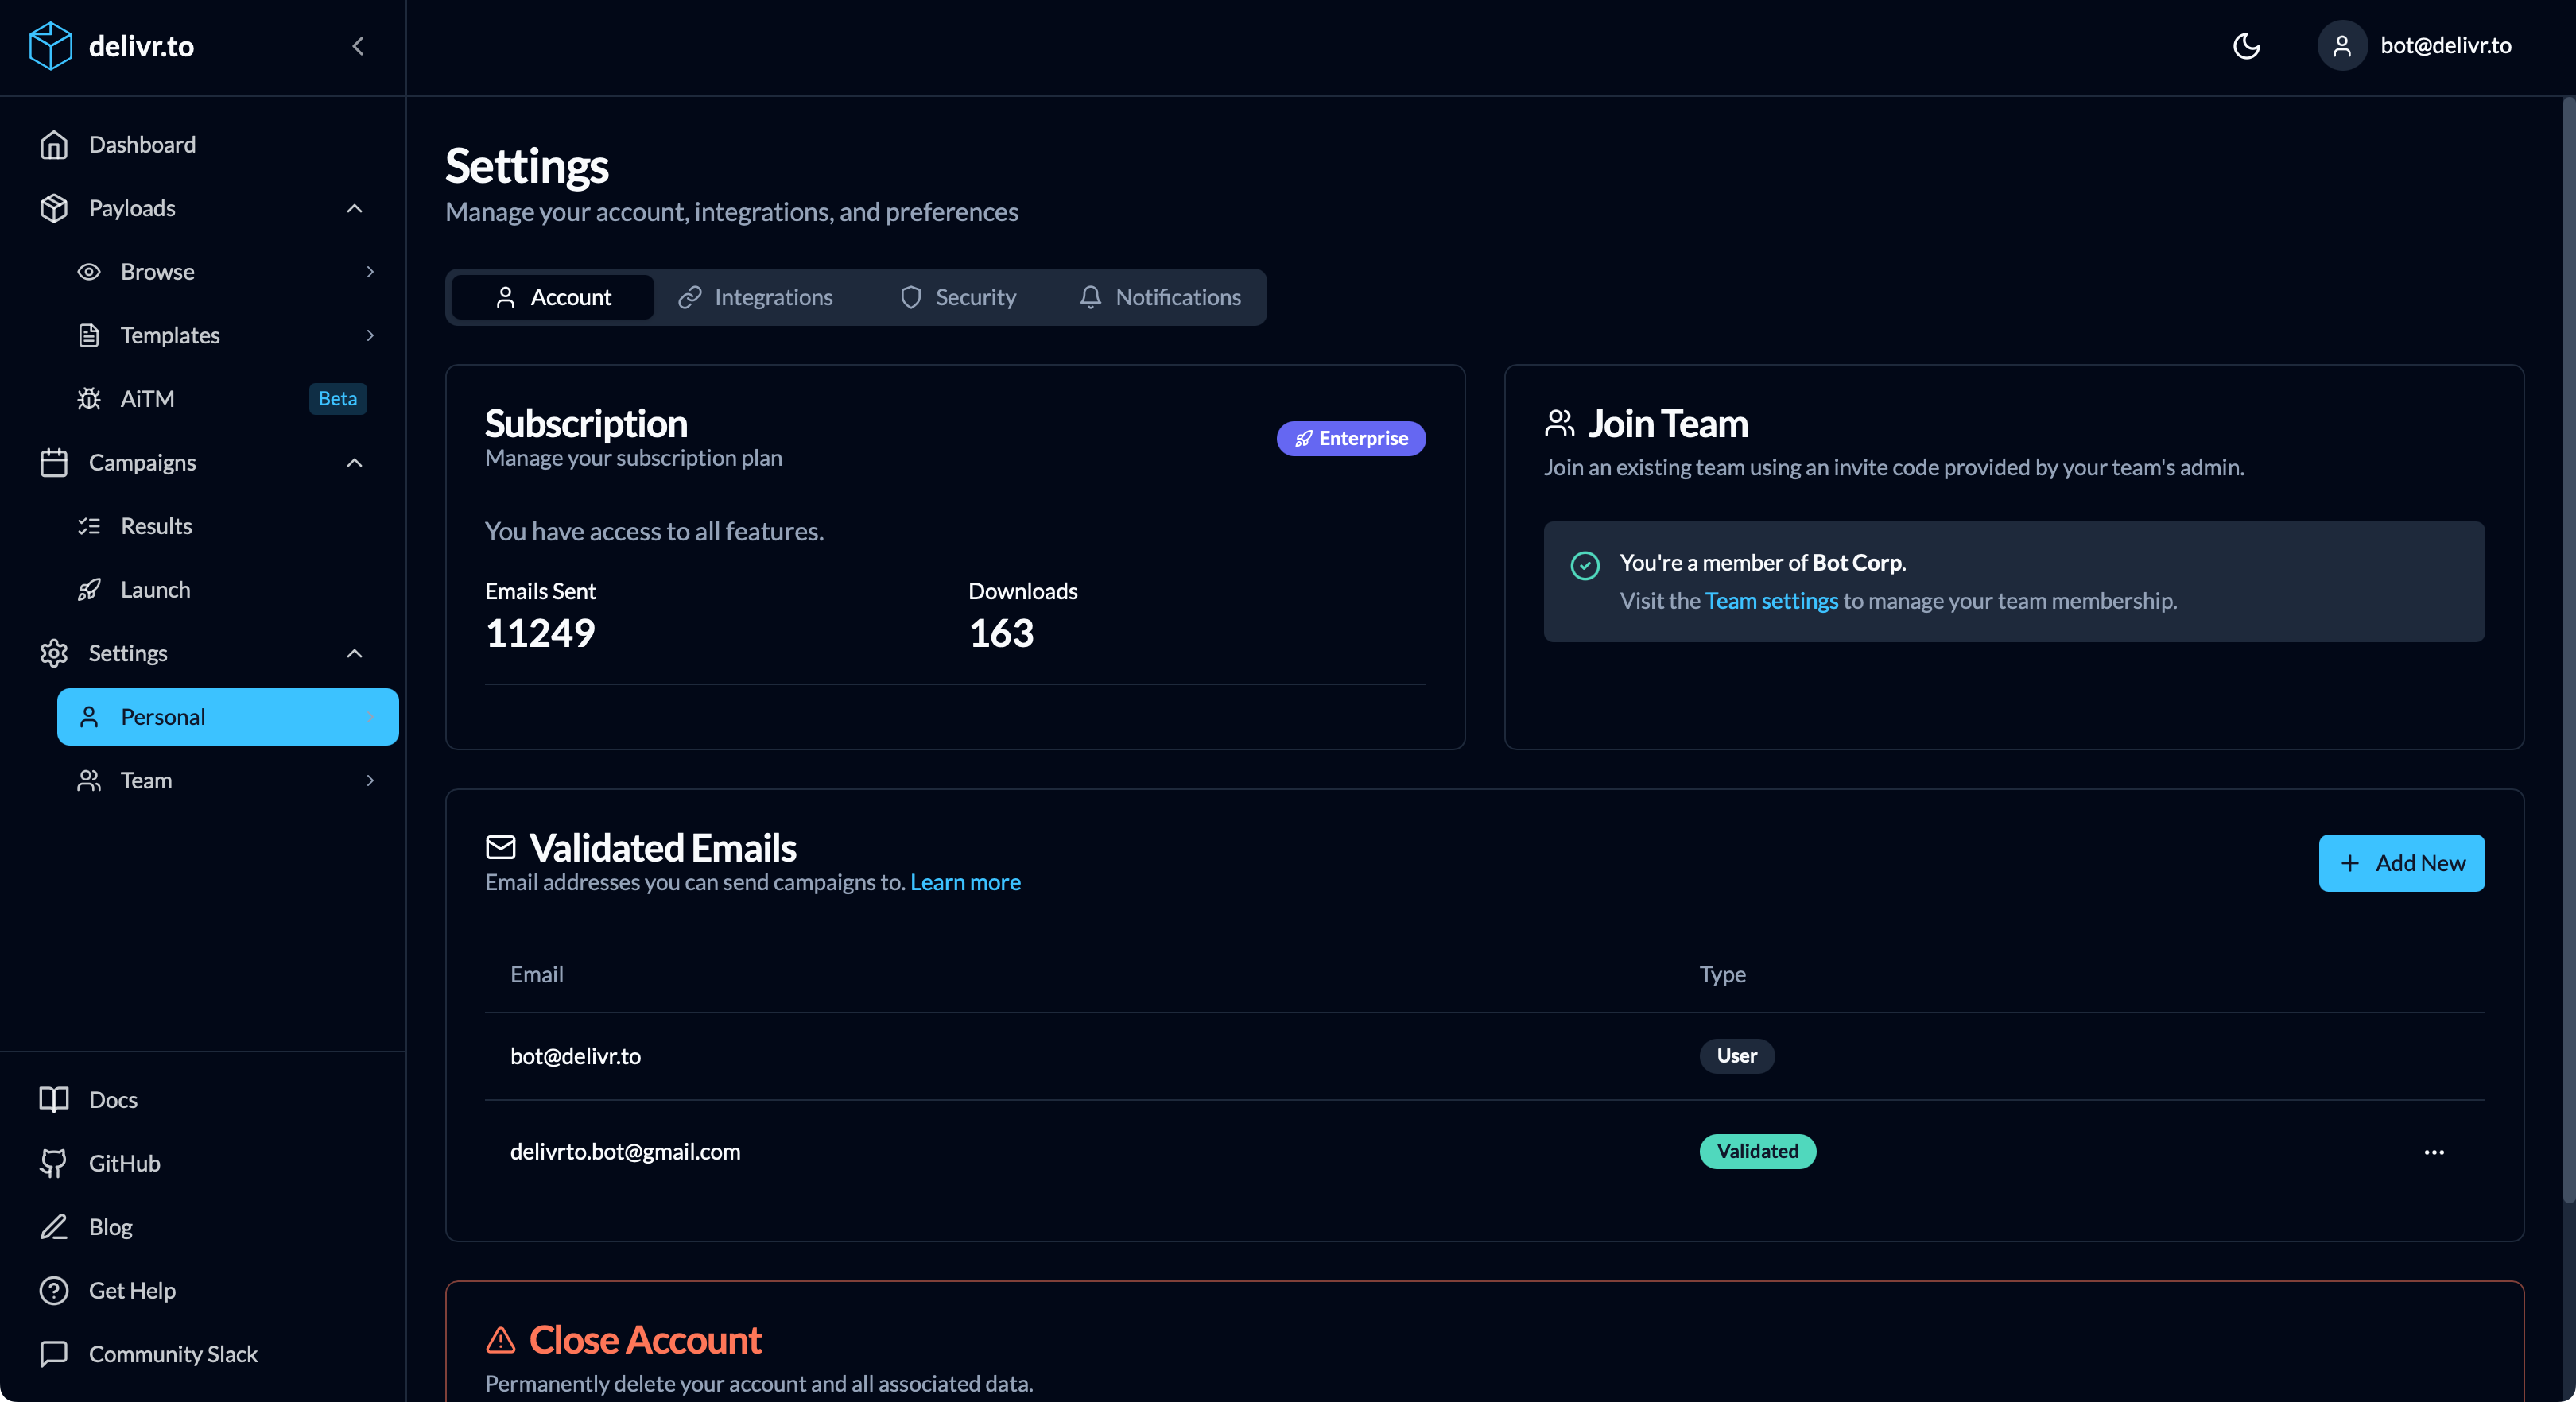
- From here, click
Add New. You’ll be presented with a prompt to enter the new mailbox you’d like to use with delivr.to.
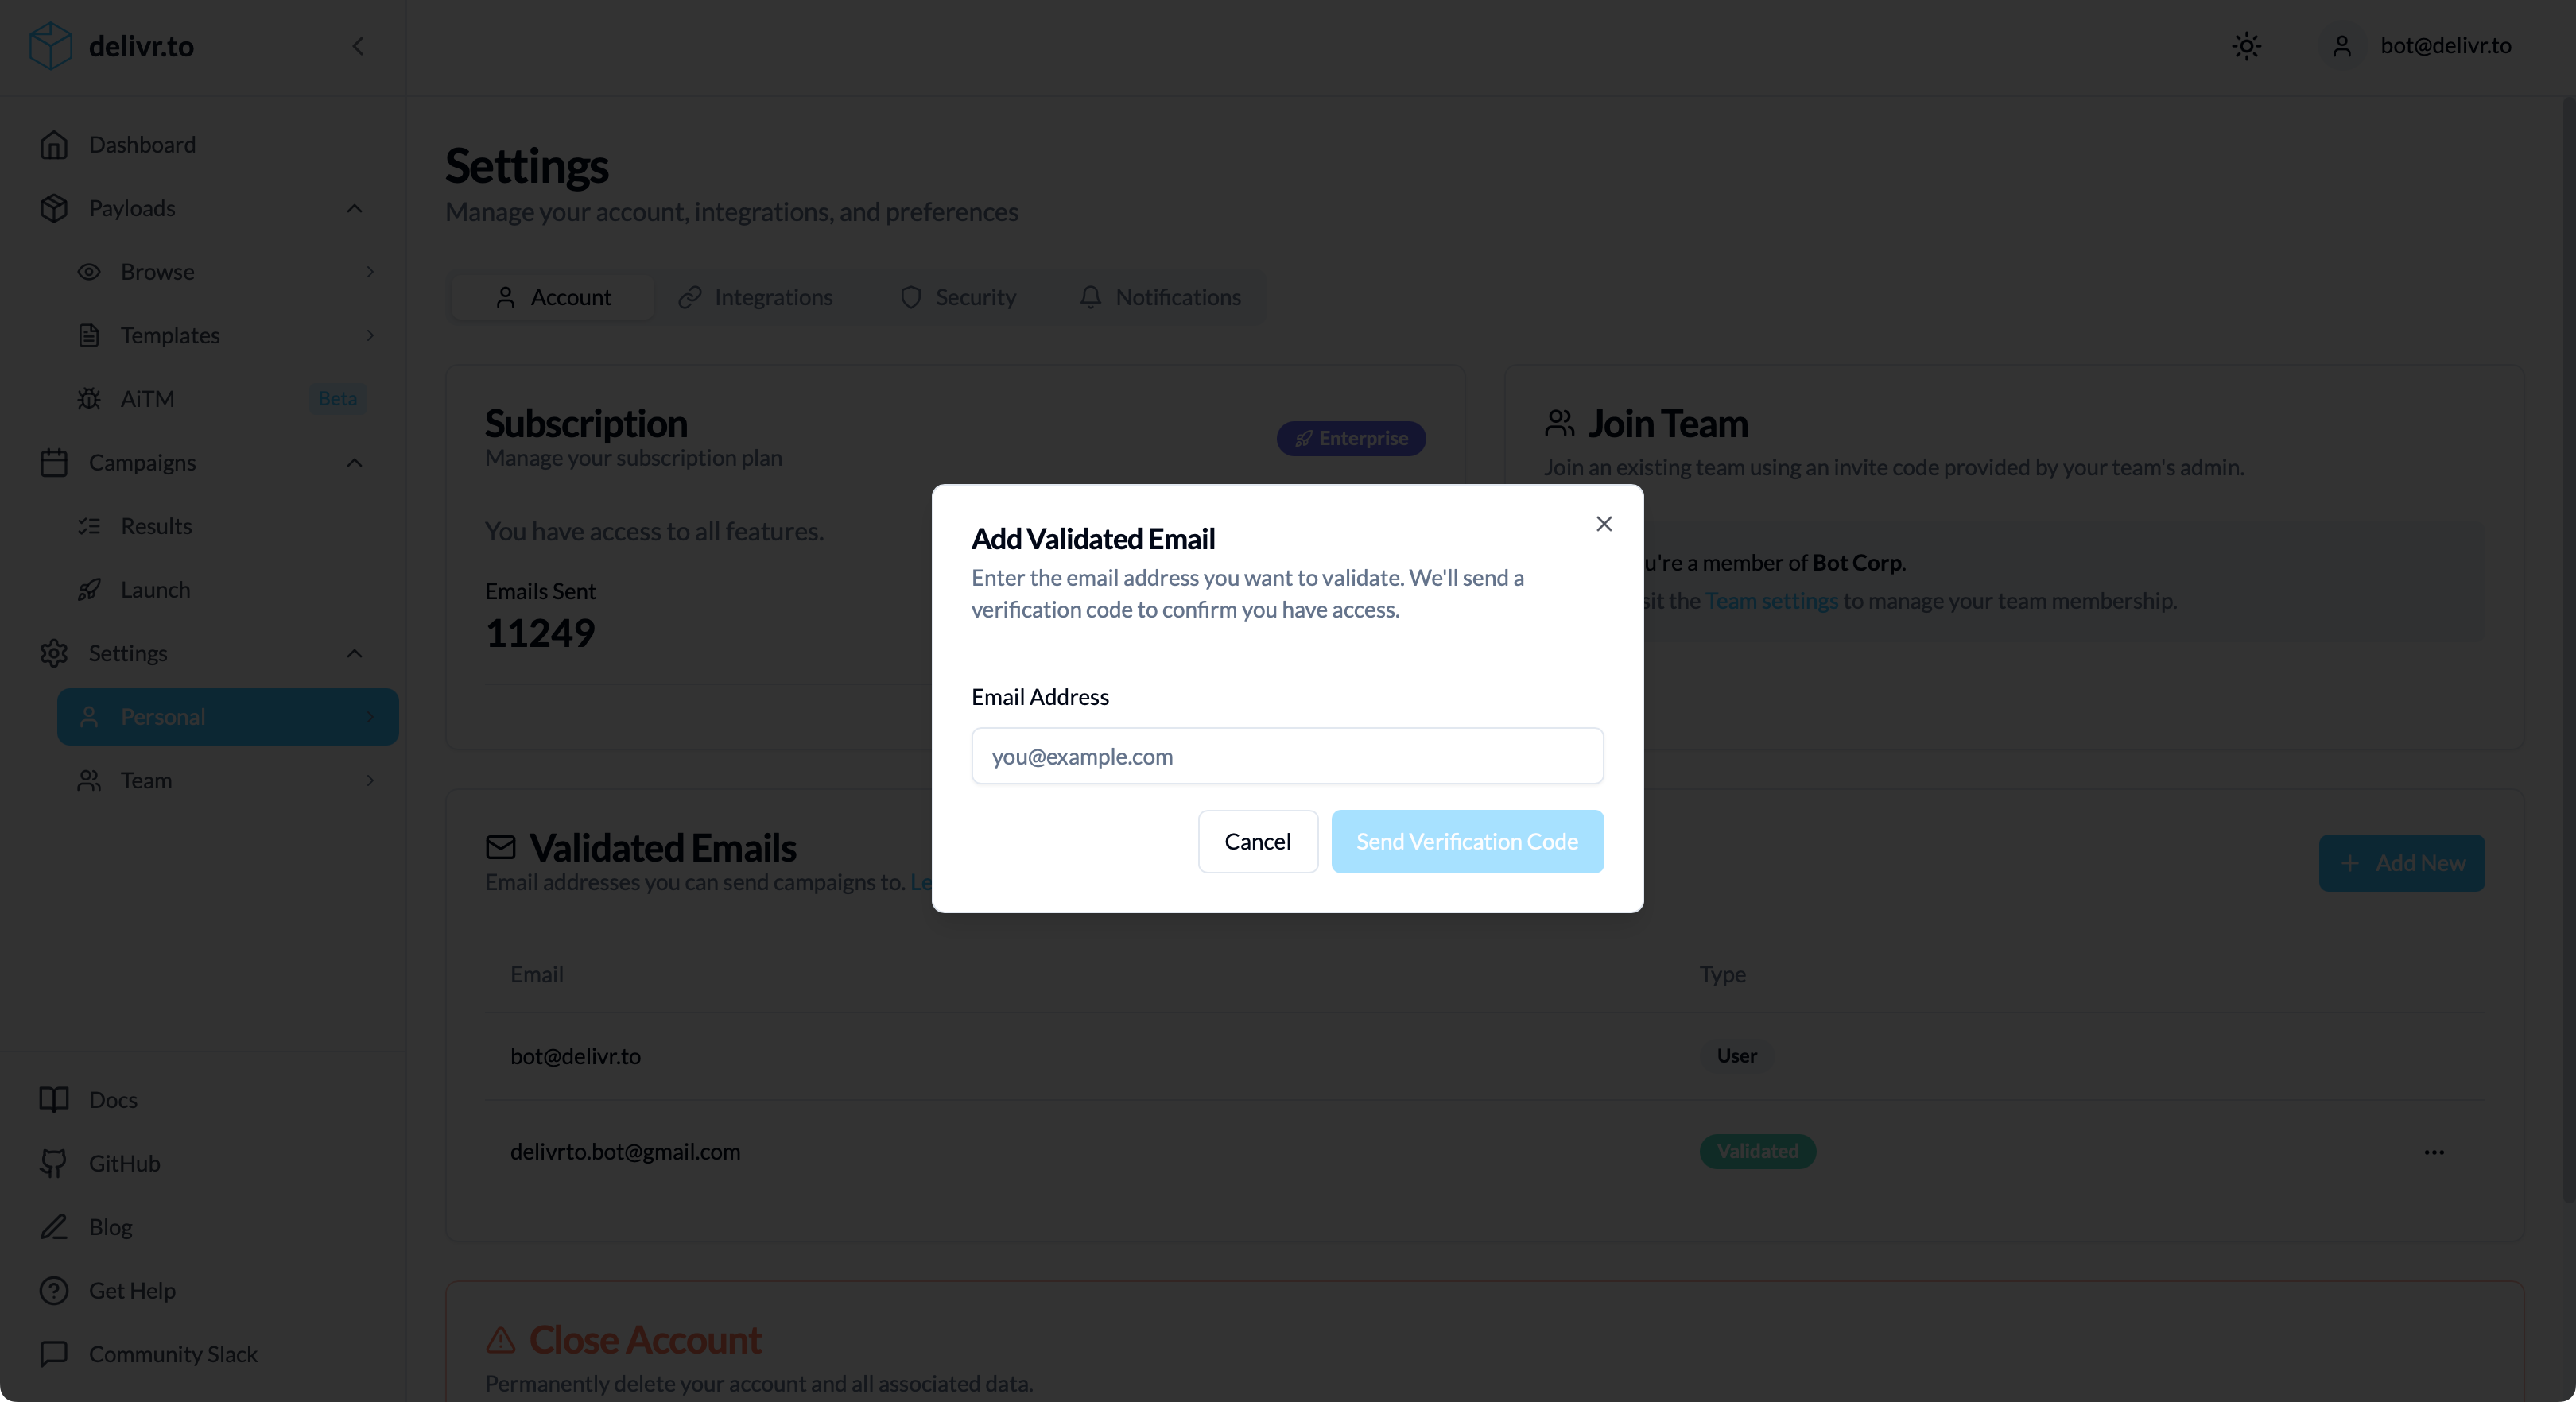
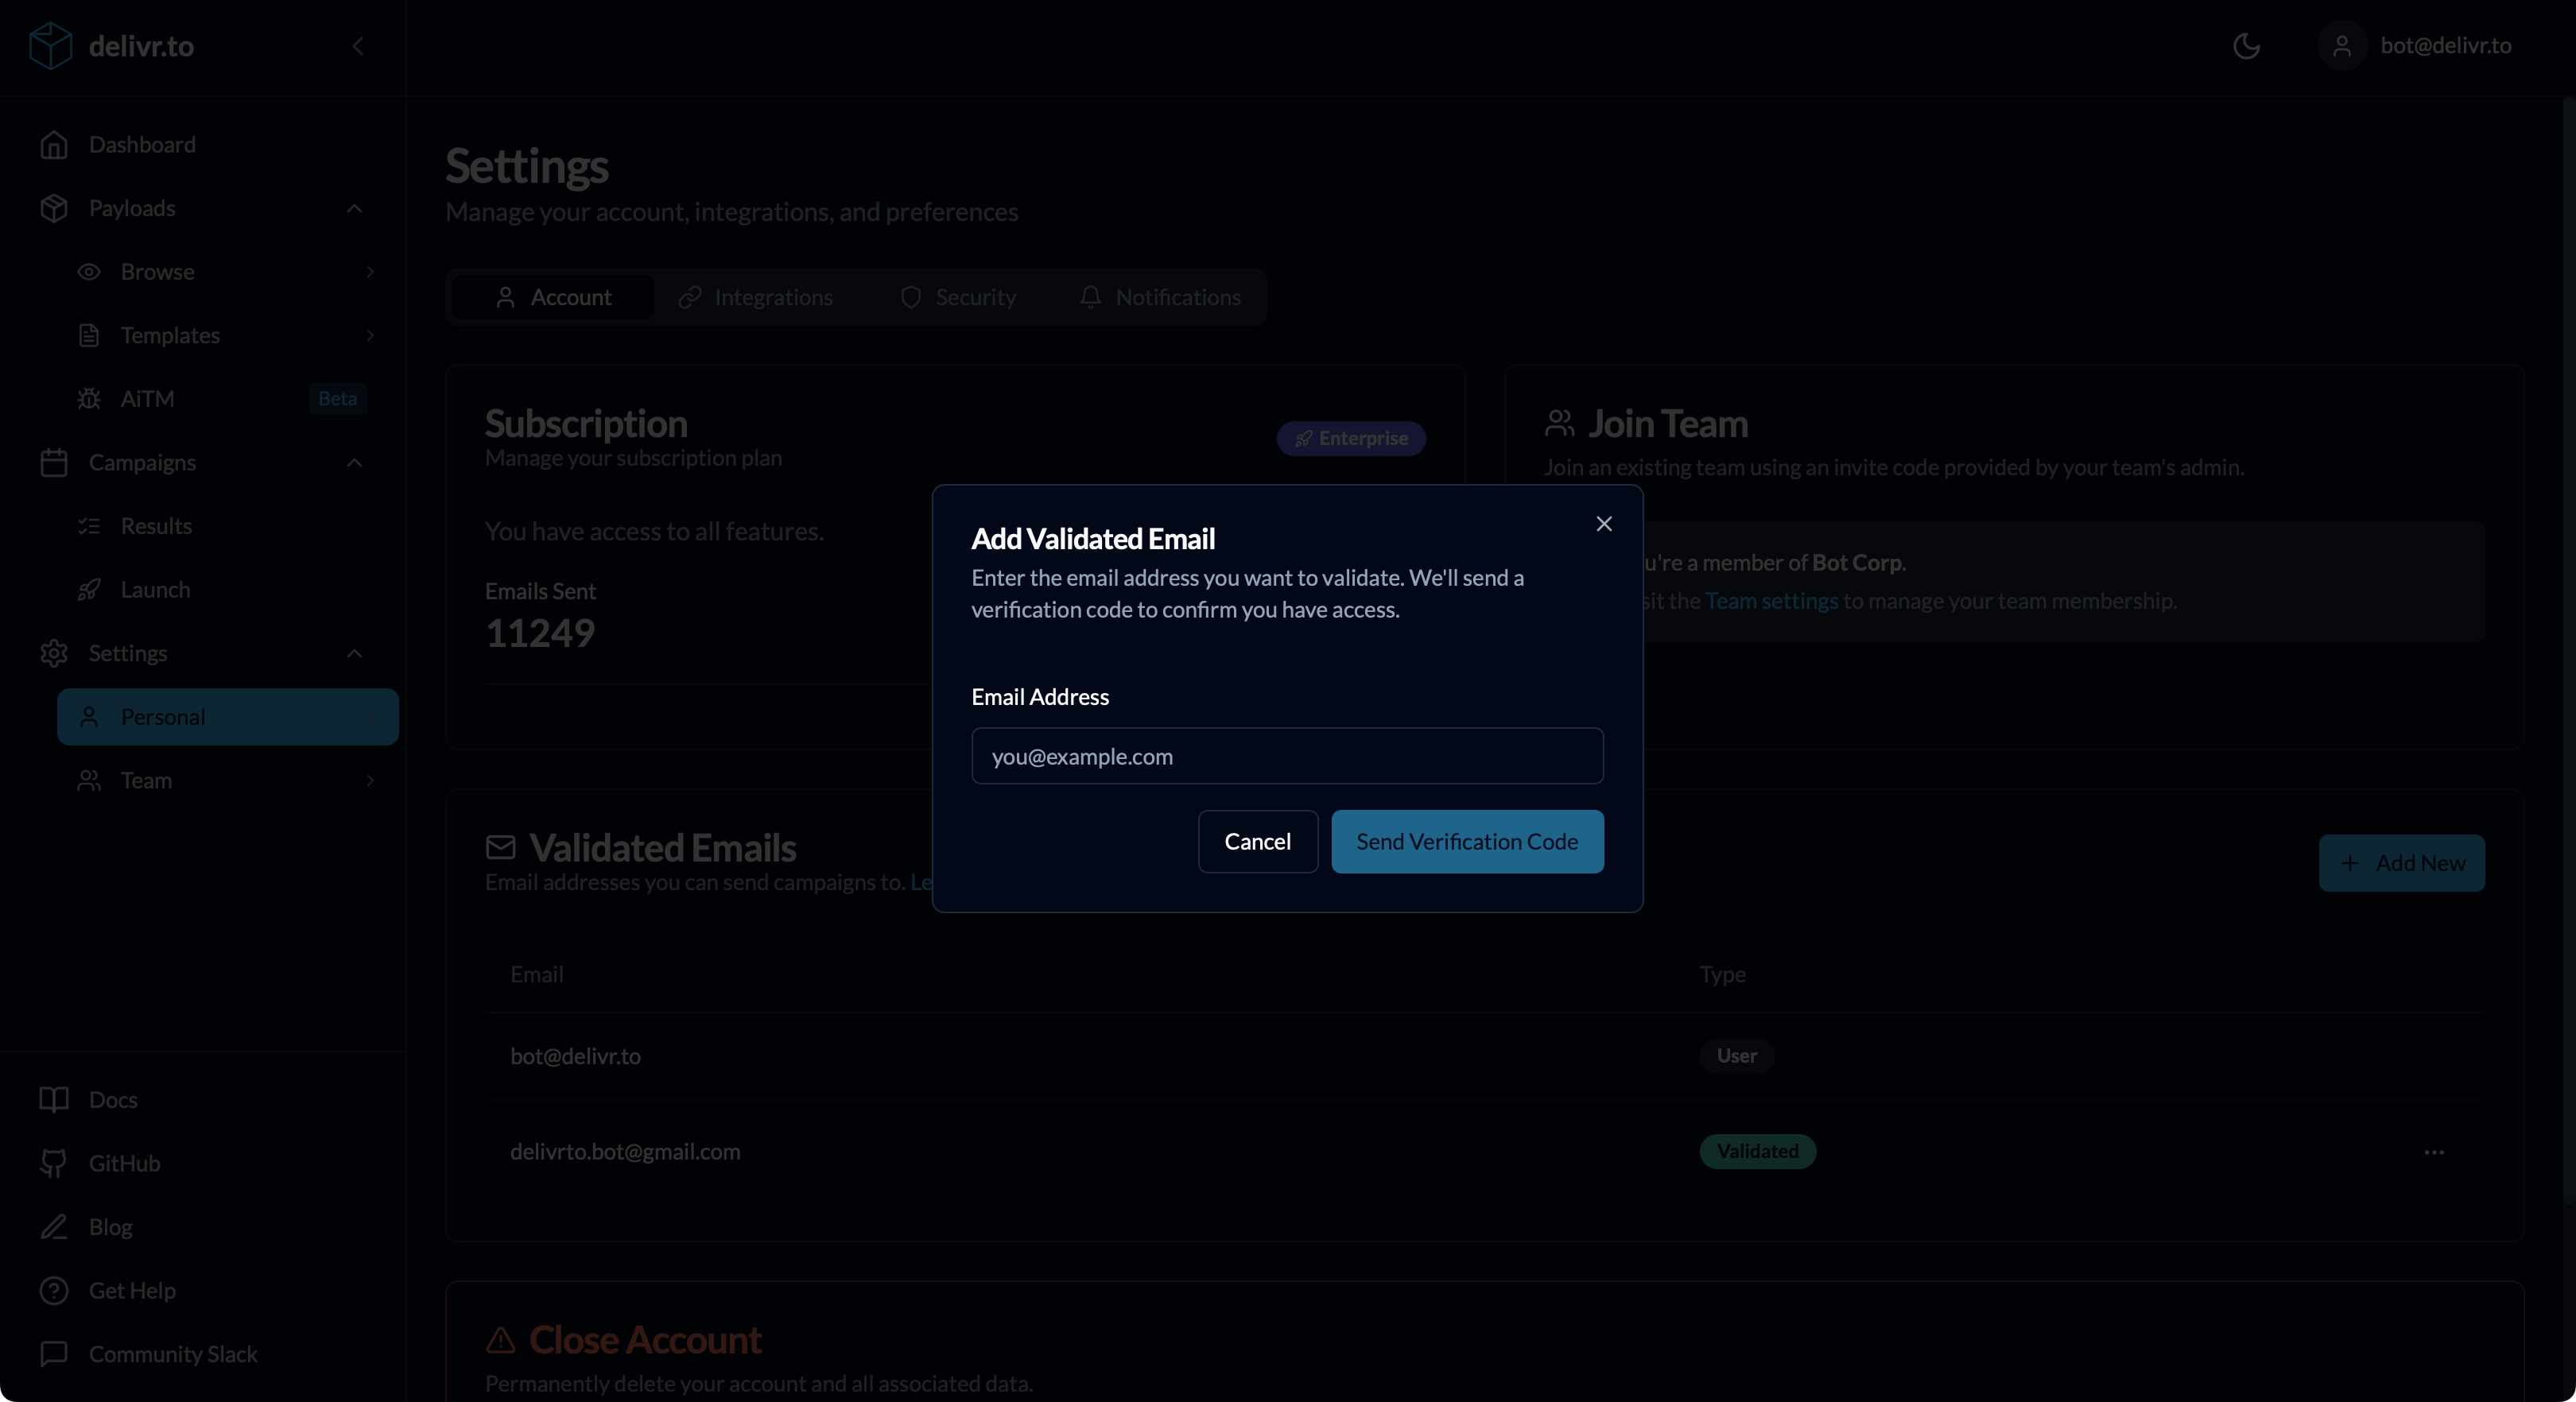
- Check the mailbox you’re validating, grab the code sent by
no-reply@mail.delivr.toand enter it.
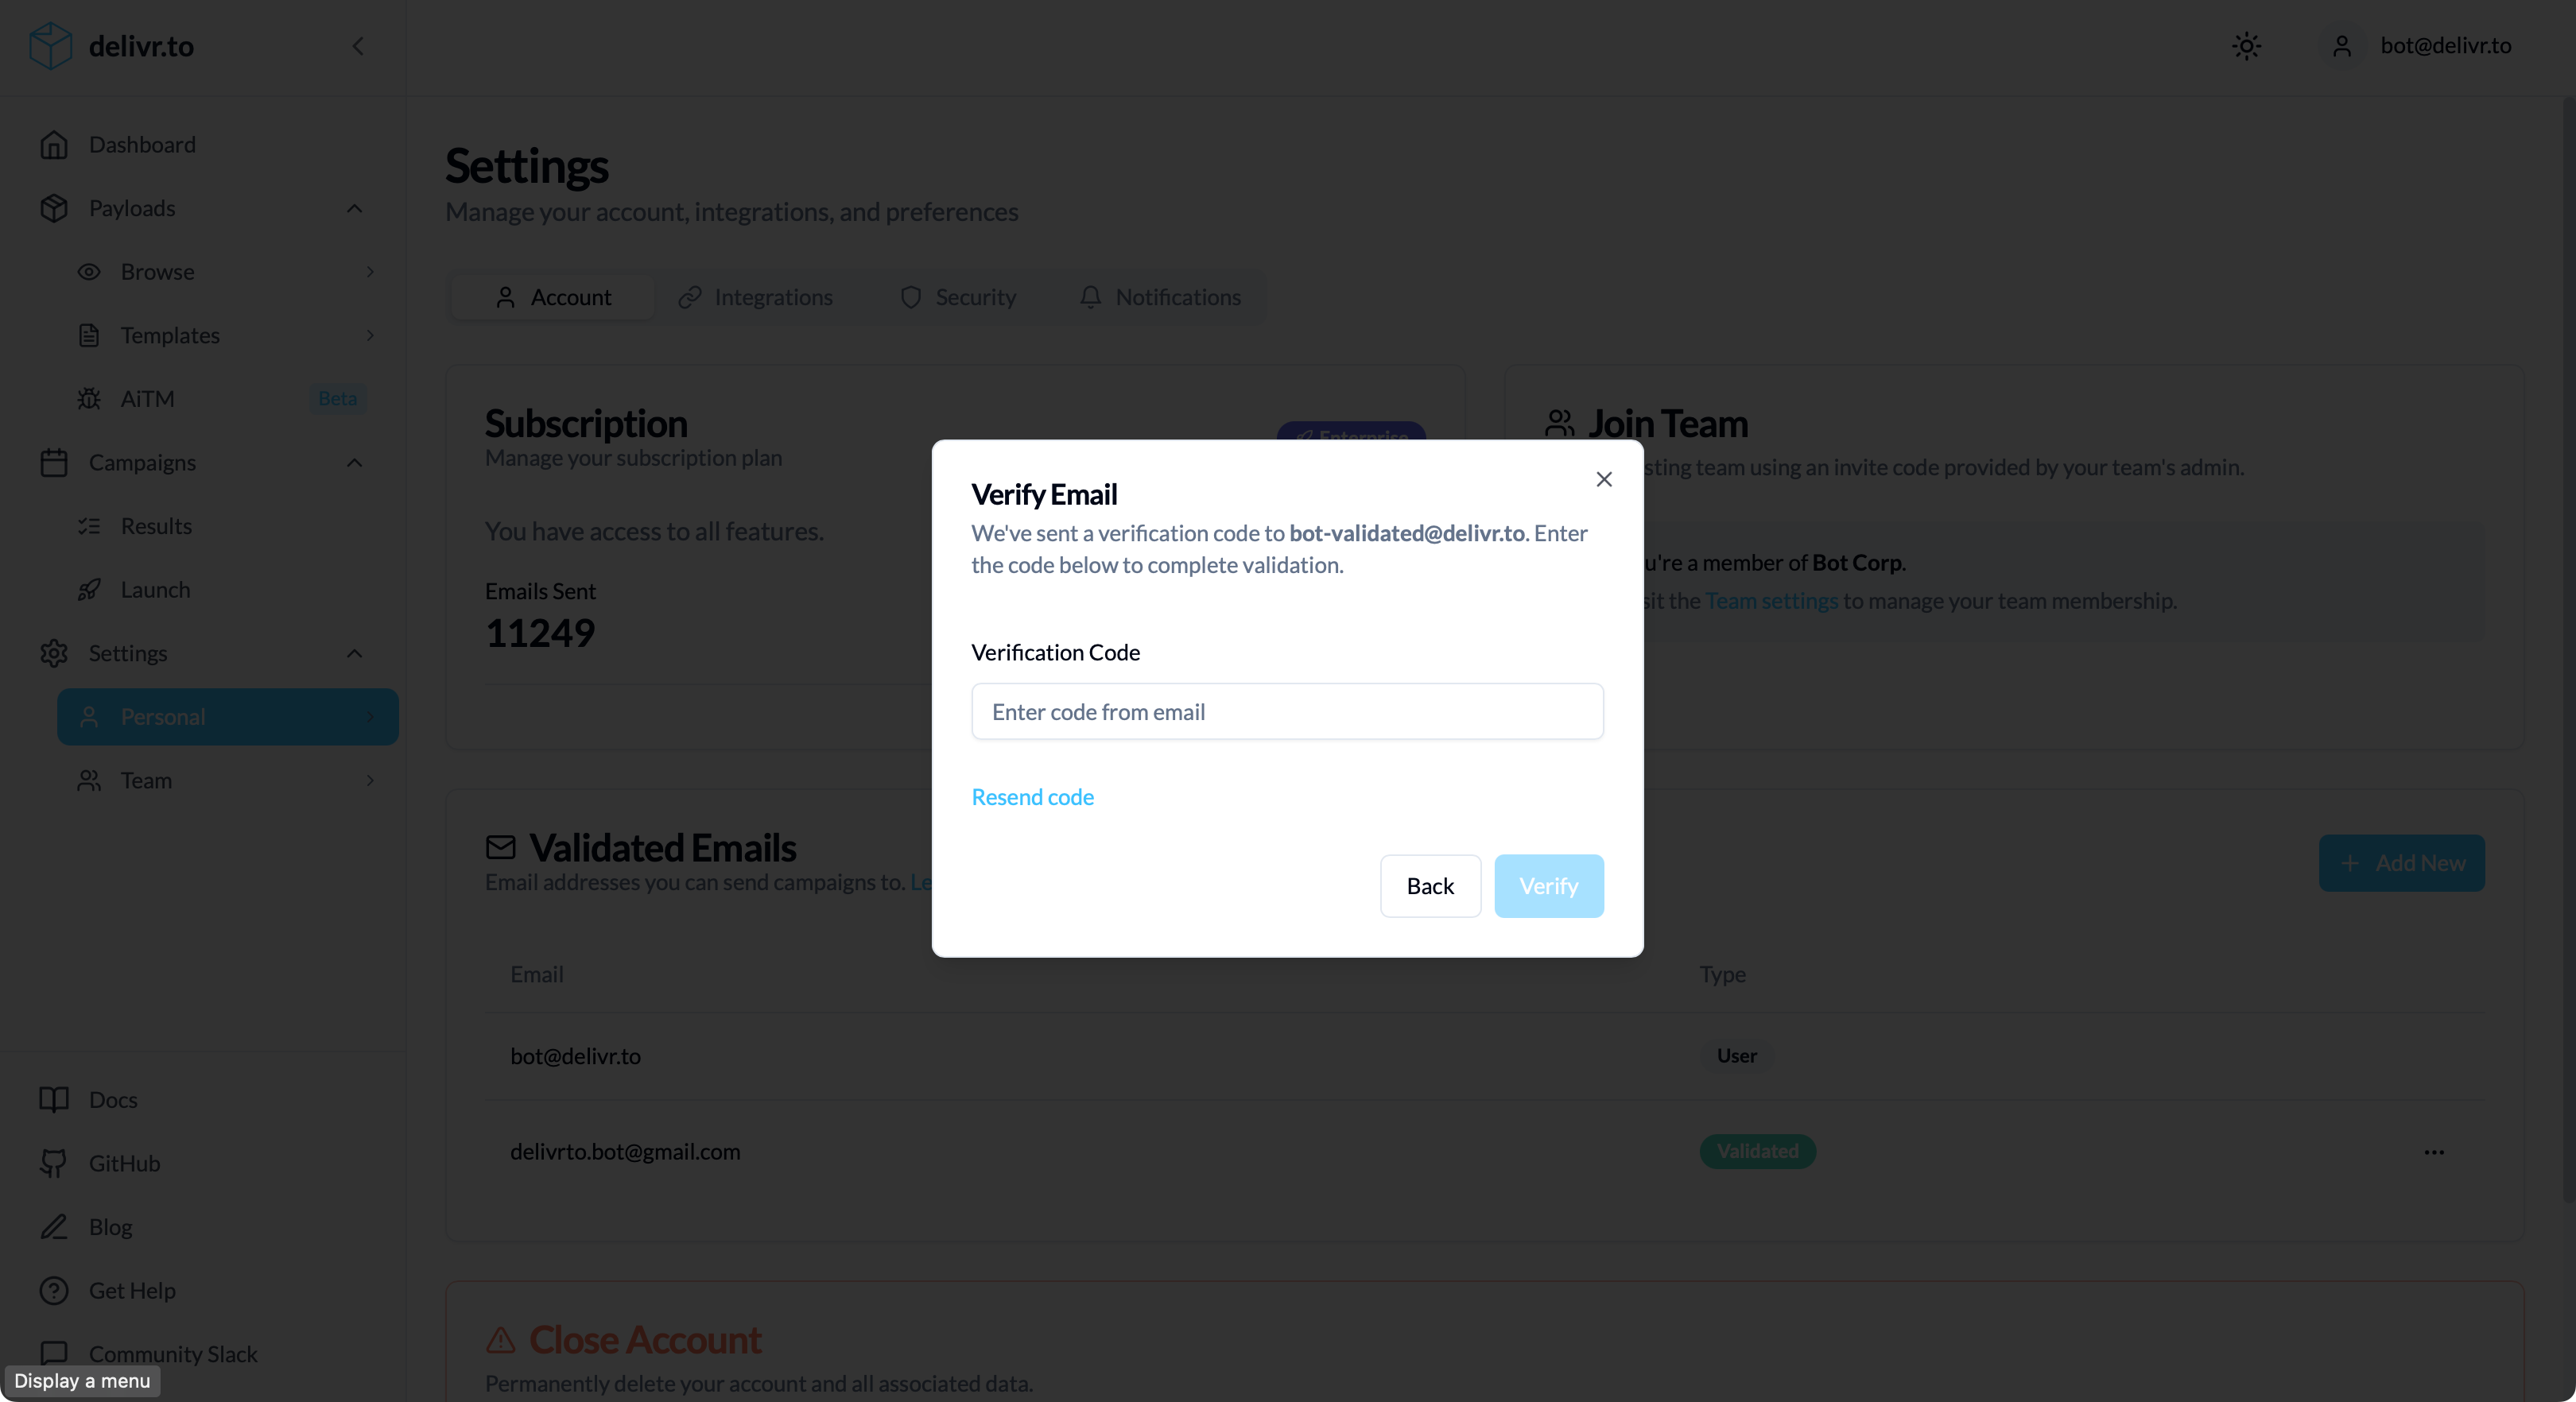
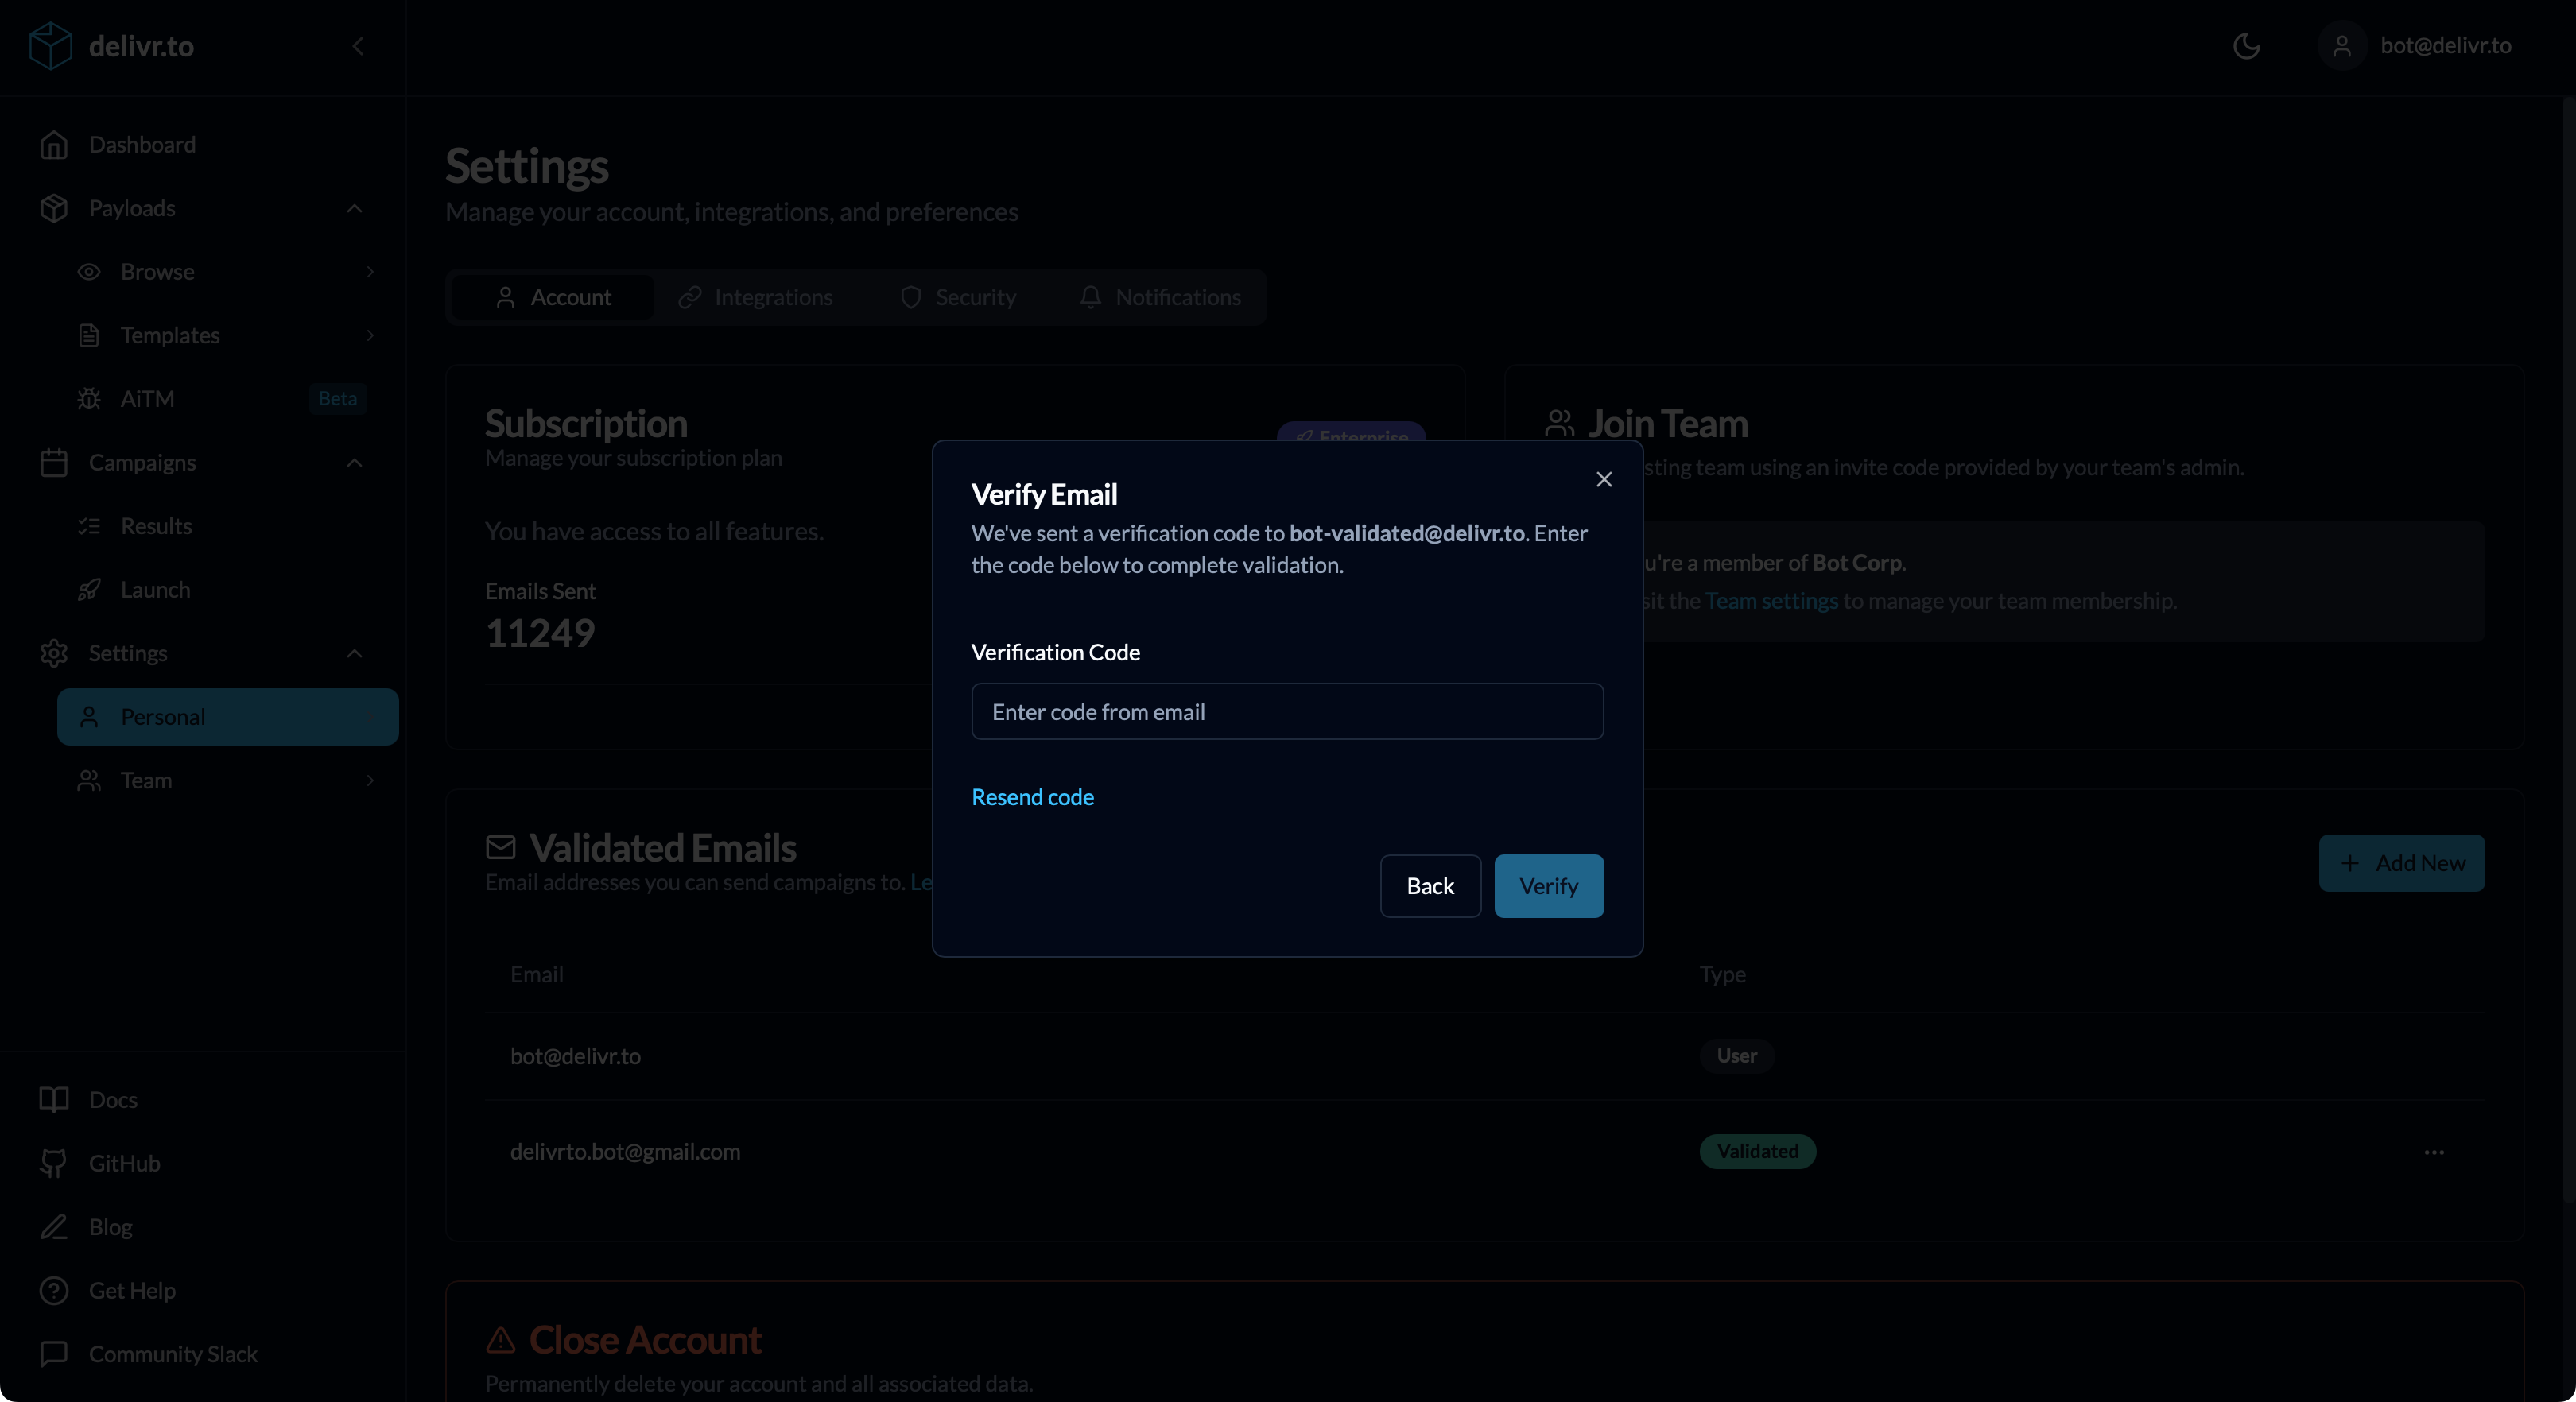
- Once validated, you’ll receive confirmation that the email address is ready for use. You can now select your newly-validated email when scheduling a campaign!