Contents:
Connect MailGun to send delivr.to emails using your own infrastructure and domains.
Note: On recently-created accounts, MailGun is sensitive to the volume of emails sent. By default, delivr.to sends all emails as quickly as possible, which can cause MailGun to reject a subset. If this happens, those emails will be marked as
Failedin your campaign results. More info. Send fewer than 20 payloads at a time to avoid this, or contact MailGun support to remove the limitation.
Prerequisites
- A MailGun account
- A purchased domain you wish to send emails from
- Access to your domain registrar’s DNS settings
Setup Steps
1. Add Your Domain in MailGun
Head to Domains in MailGun and select Add New Domain. Enter your domain name and click Add Domain.
2. Configure DNS Records
Inside Domain Settings under DNS Records, you’ll find the records needed to enable SPF and DKIM. Add these to your domain registrar.
Note: Some registrars (e.g. Namecheap) automatically append the hostname, so only add the host’s prefix.
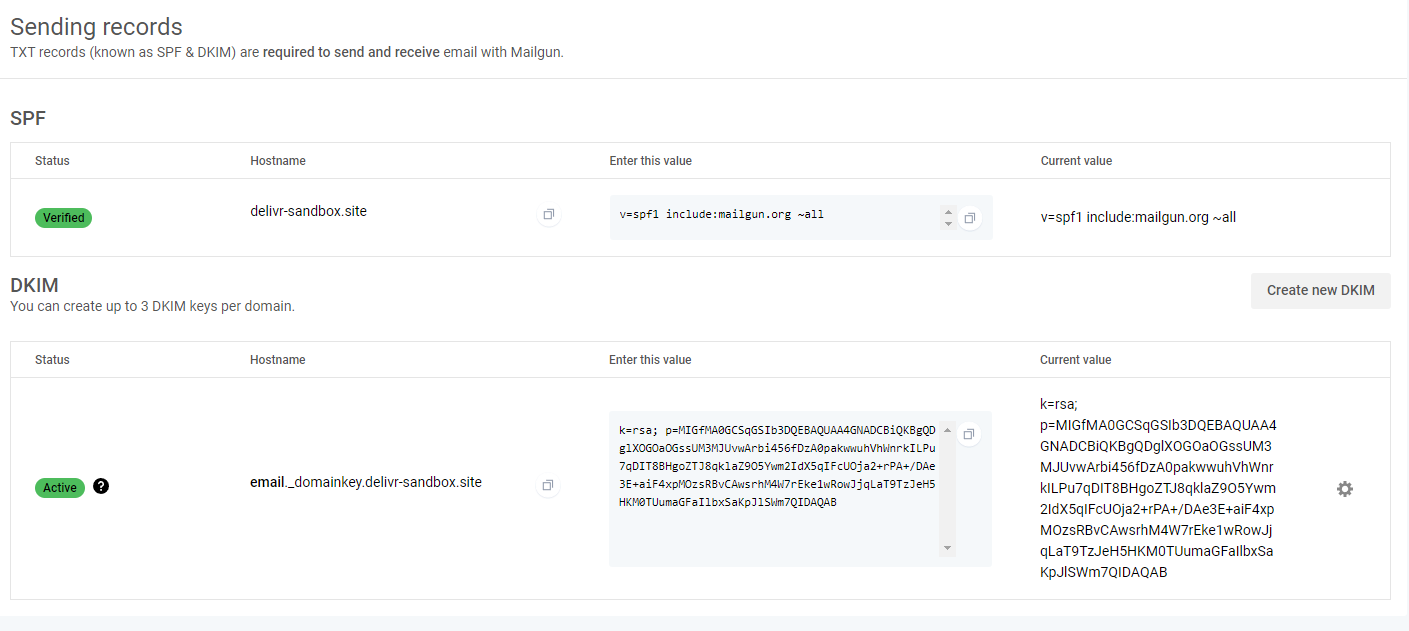

Click Verify DNS Settings and confirm the status changes to Verified.
3. Generate an API Key
Navigate to API security and click Add new key. Give it a description such as delivr.to MailGun Integration.
Note the key — you won’t be able to access it again.
4. Disable Tracking
Visit the Tracking section inside Domain settings and disable all tracking.
![]()
5. Add the Integration in delivr.to
Go to Integrations in your settings and click Send with MailGun.
Enter a friendly name for this integration, the API key from step 3, and the email address you’d like to send from. Since you authenticated the entire domain, you can use any address from that domain.
6. Confirm Success
Click Add. delivr.to will validate the supplied key and confirm the integration.
Troubleshooting
| Issue | Solution |
|---|---|
| Authentication fails | Verify the correct API key was pasted |
| Domain not verified | Confirm DNS records have propagated (this can take up to 48 hours) |
| Emails marked as Failed | You may be hitting MailGun’s rate limit — reduce payload count or contact MailGun support |
| Tracking links appearing | Ensure all tracking is disabled in MailGun domain settings |