Contents:
Enterprise customers can upload custom payloads to test specific threats or emulation scenarios.
There are two primary methods for custom payload creation, file upload and the HTML editor.
Adding a Custom File Payload
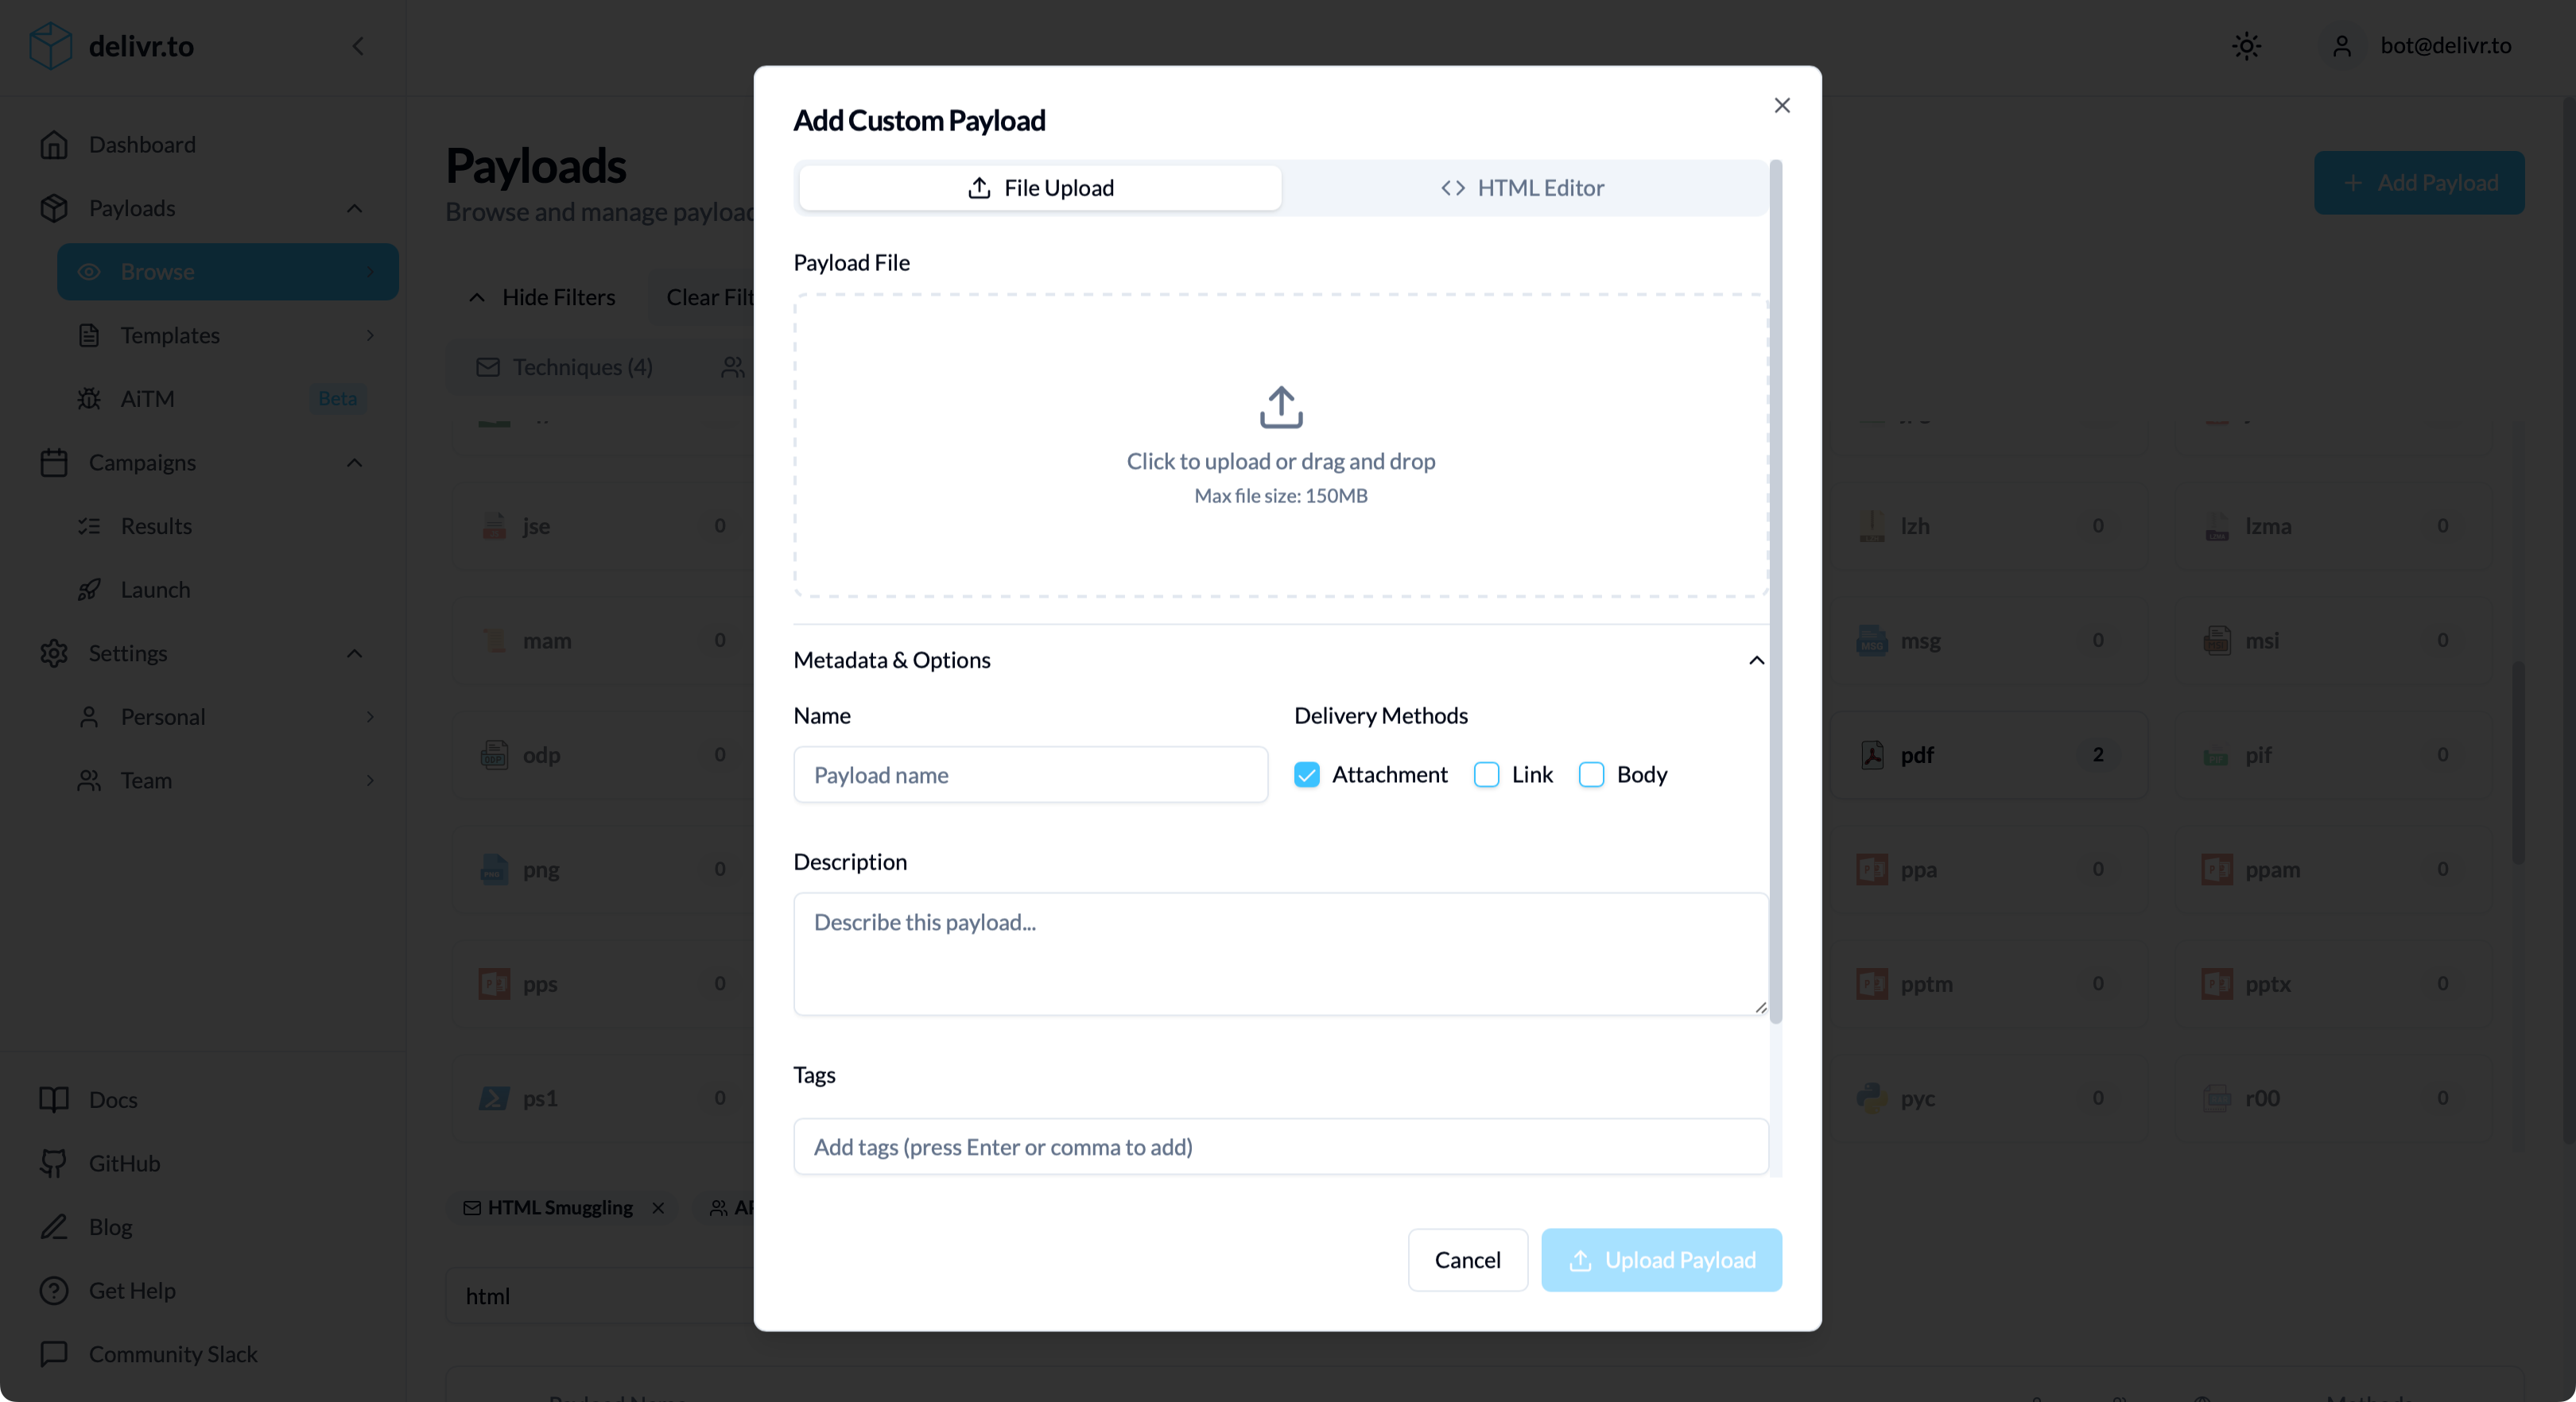
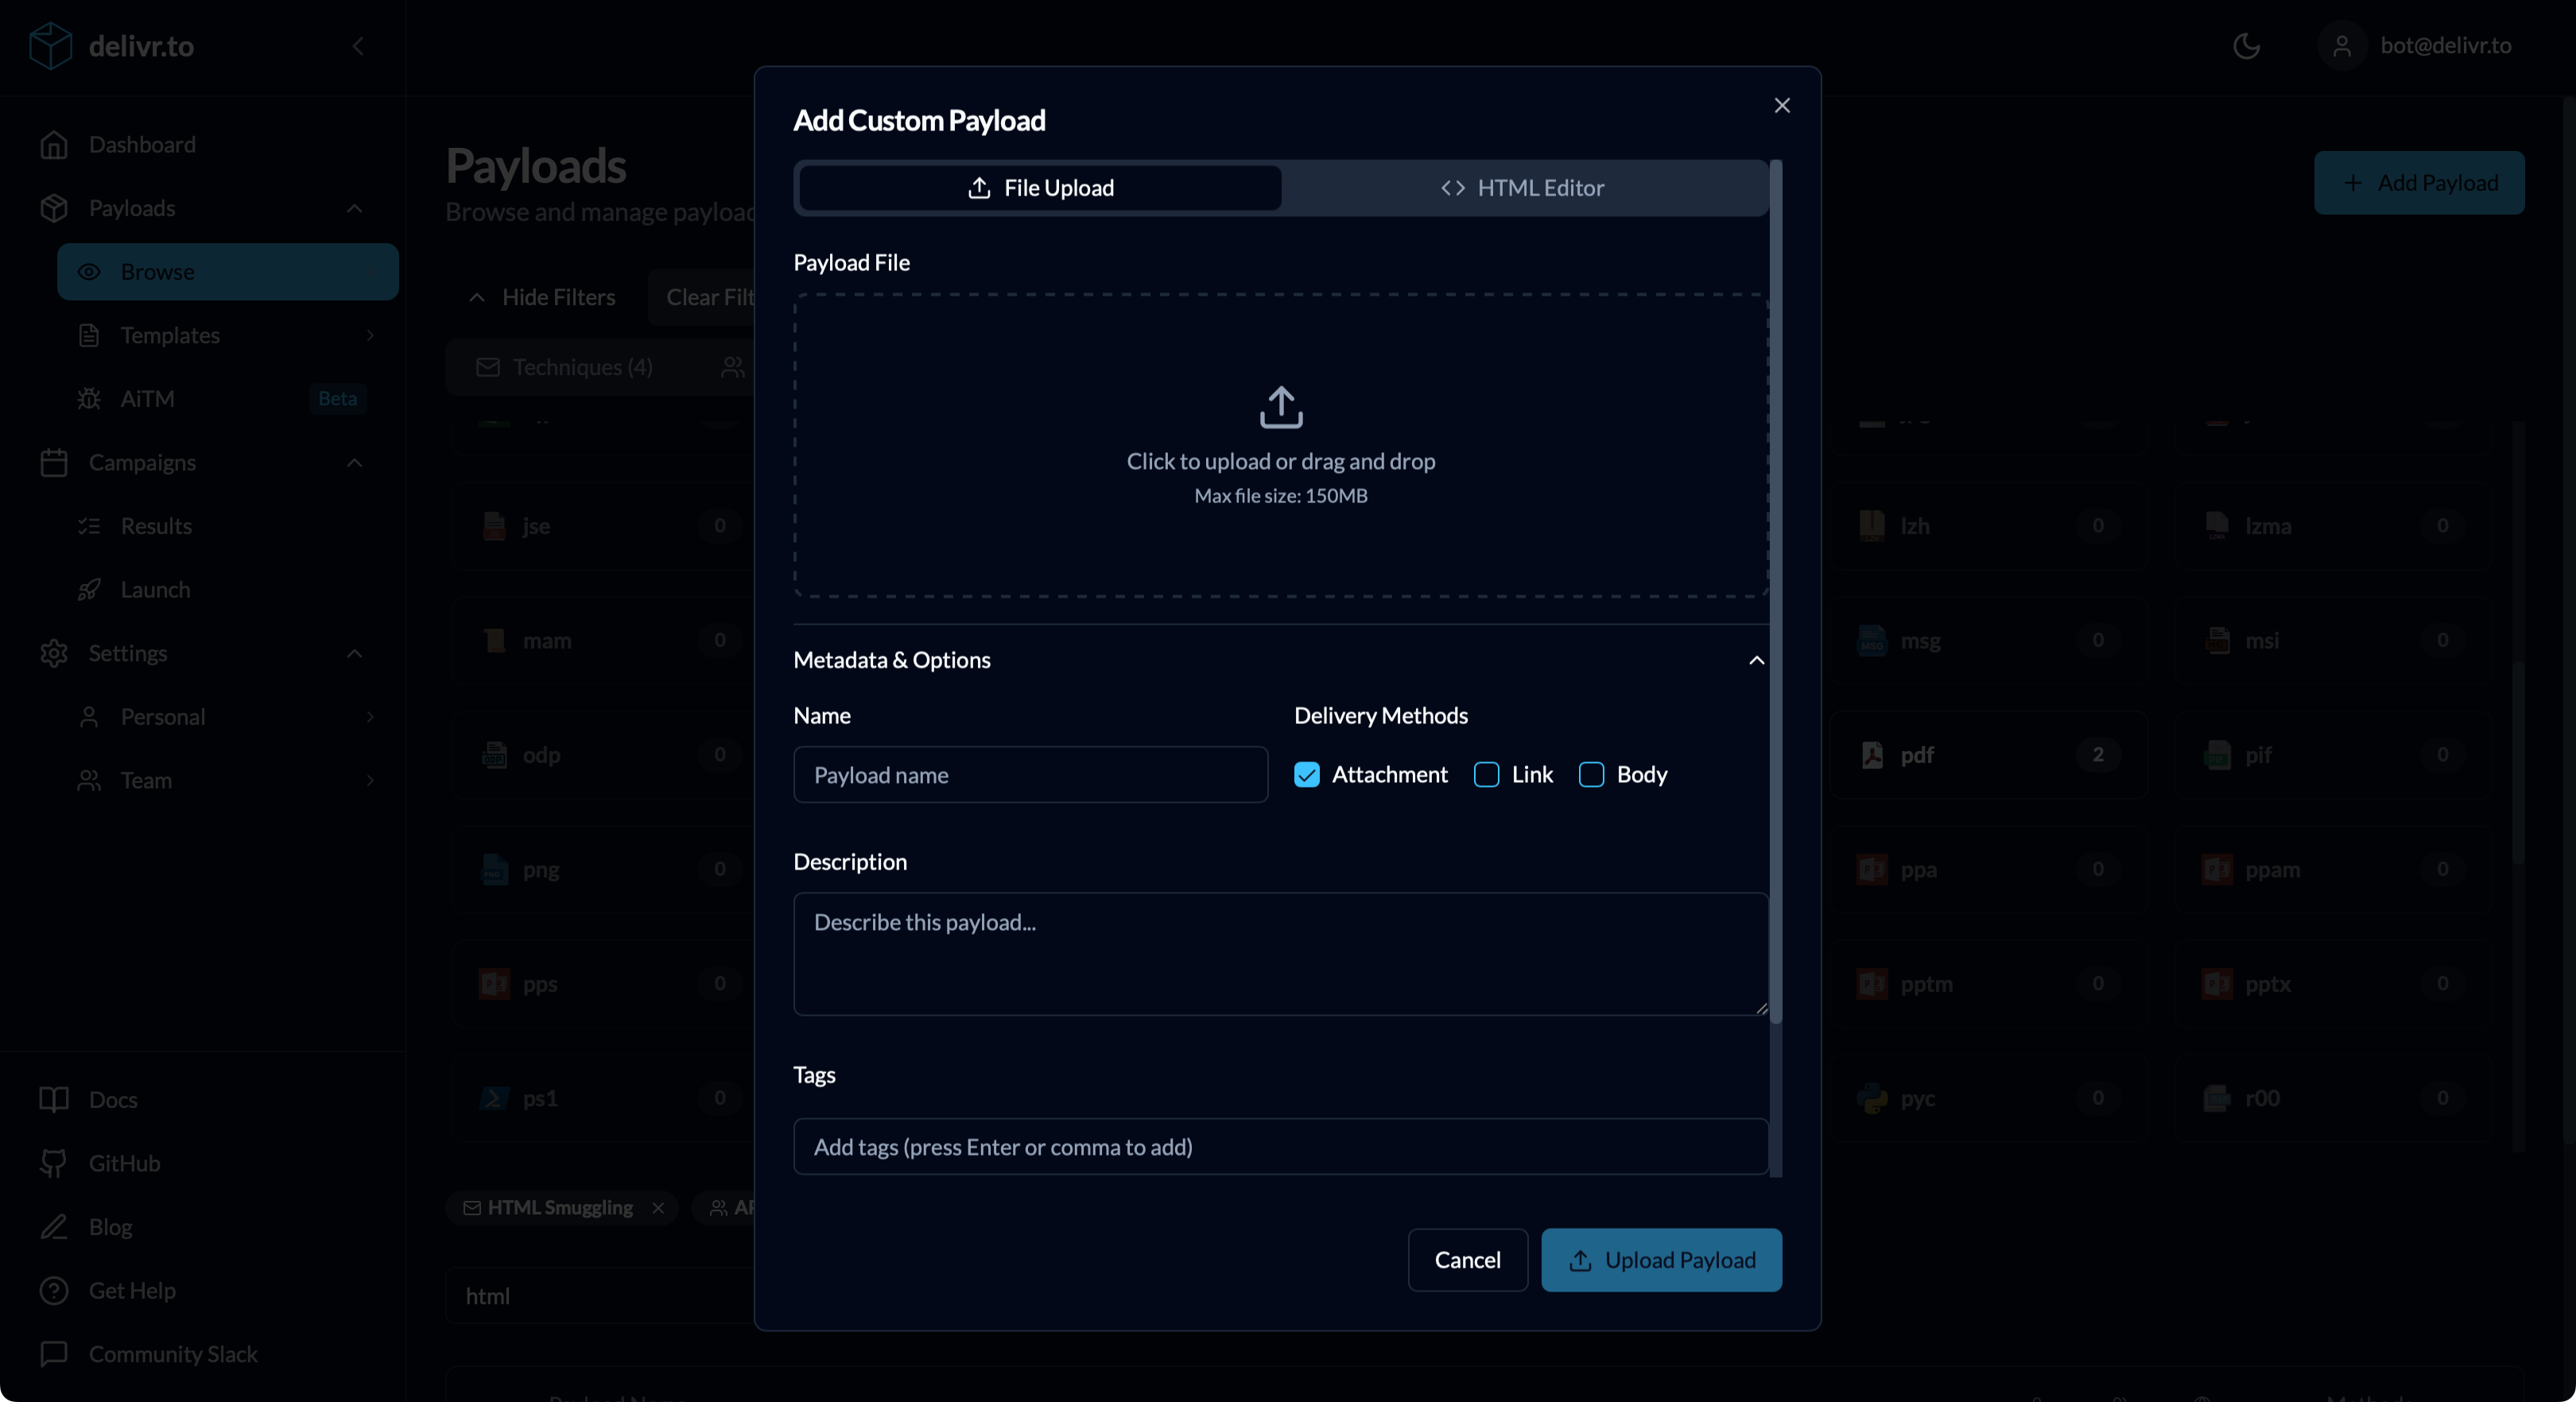
To upload a custom payload file, perform the following:
- Click Add Payload in the Payloads page header
- Upload your file (drag & drop or click to browse)
- Maximum file size: 150MB
- Any file type supported
- Configure metadata:
- Name — Auto-populated from filename, editable
- Description — Explain what the payload tests
- Tags — Add searchable labels (press Enter or comma to add)
- Delivery Methods — Select which methods this payload supports:
- ☑️ Attachment
- ☑️ Link
- ☑️ Body
- Click Upload Payload
Adding a Custom Body Payload
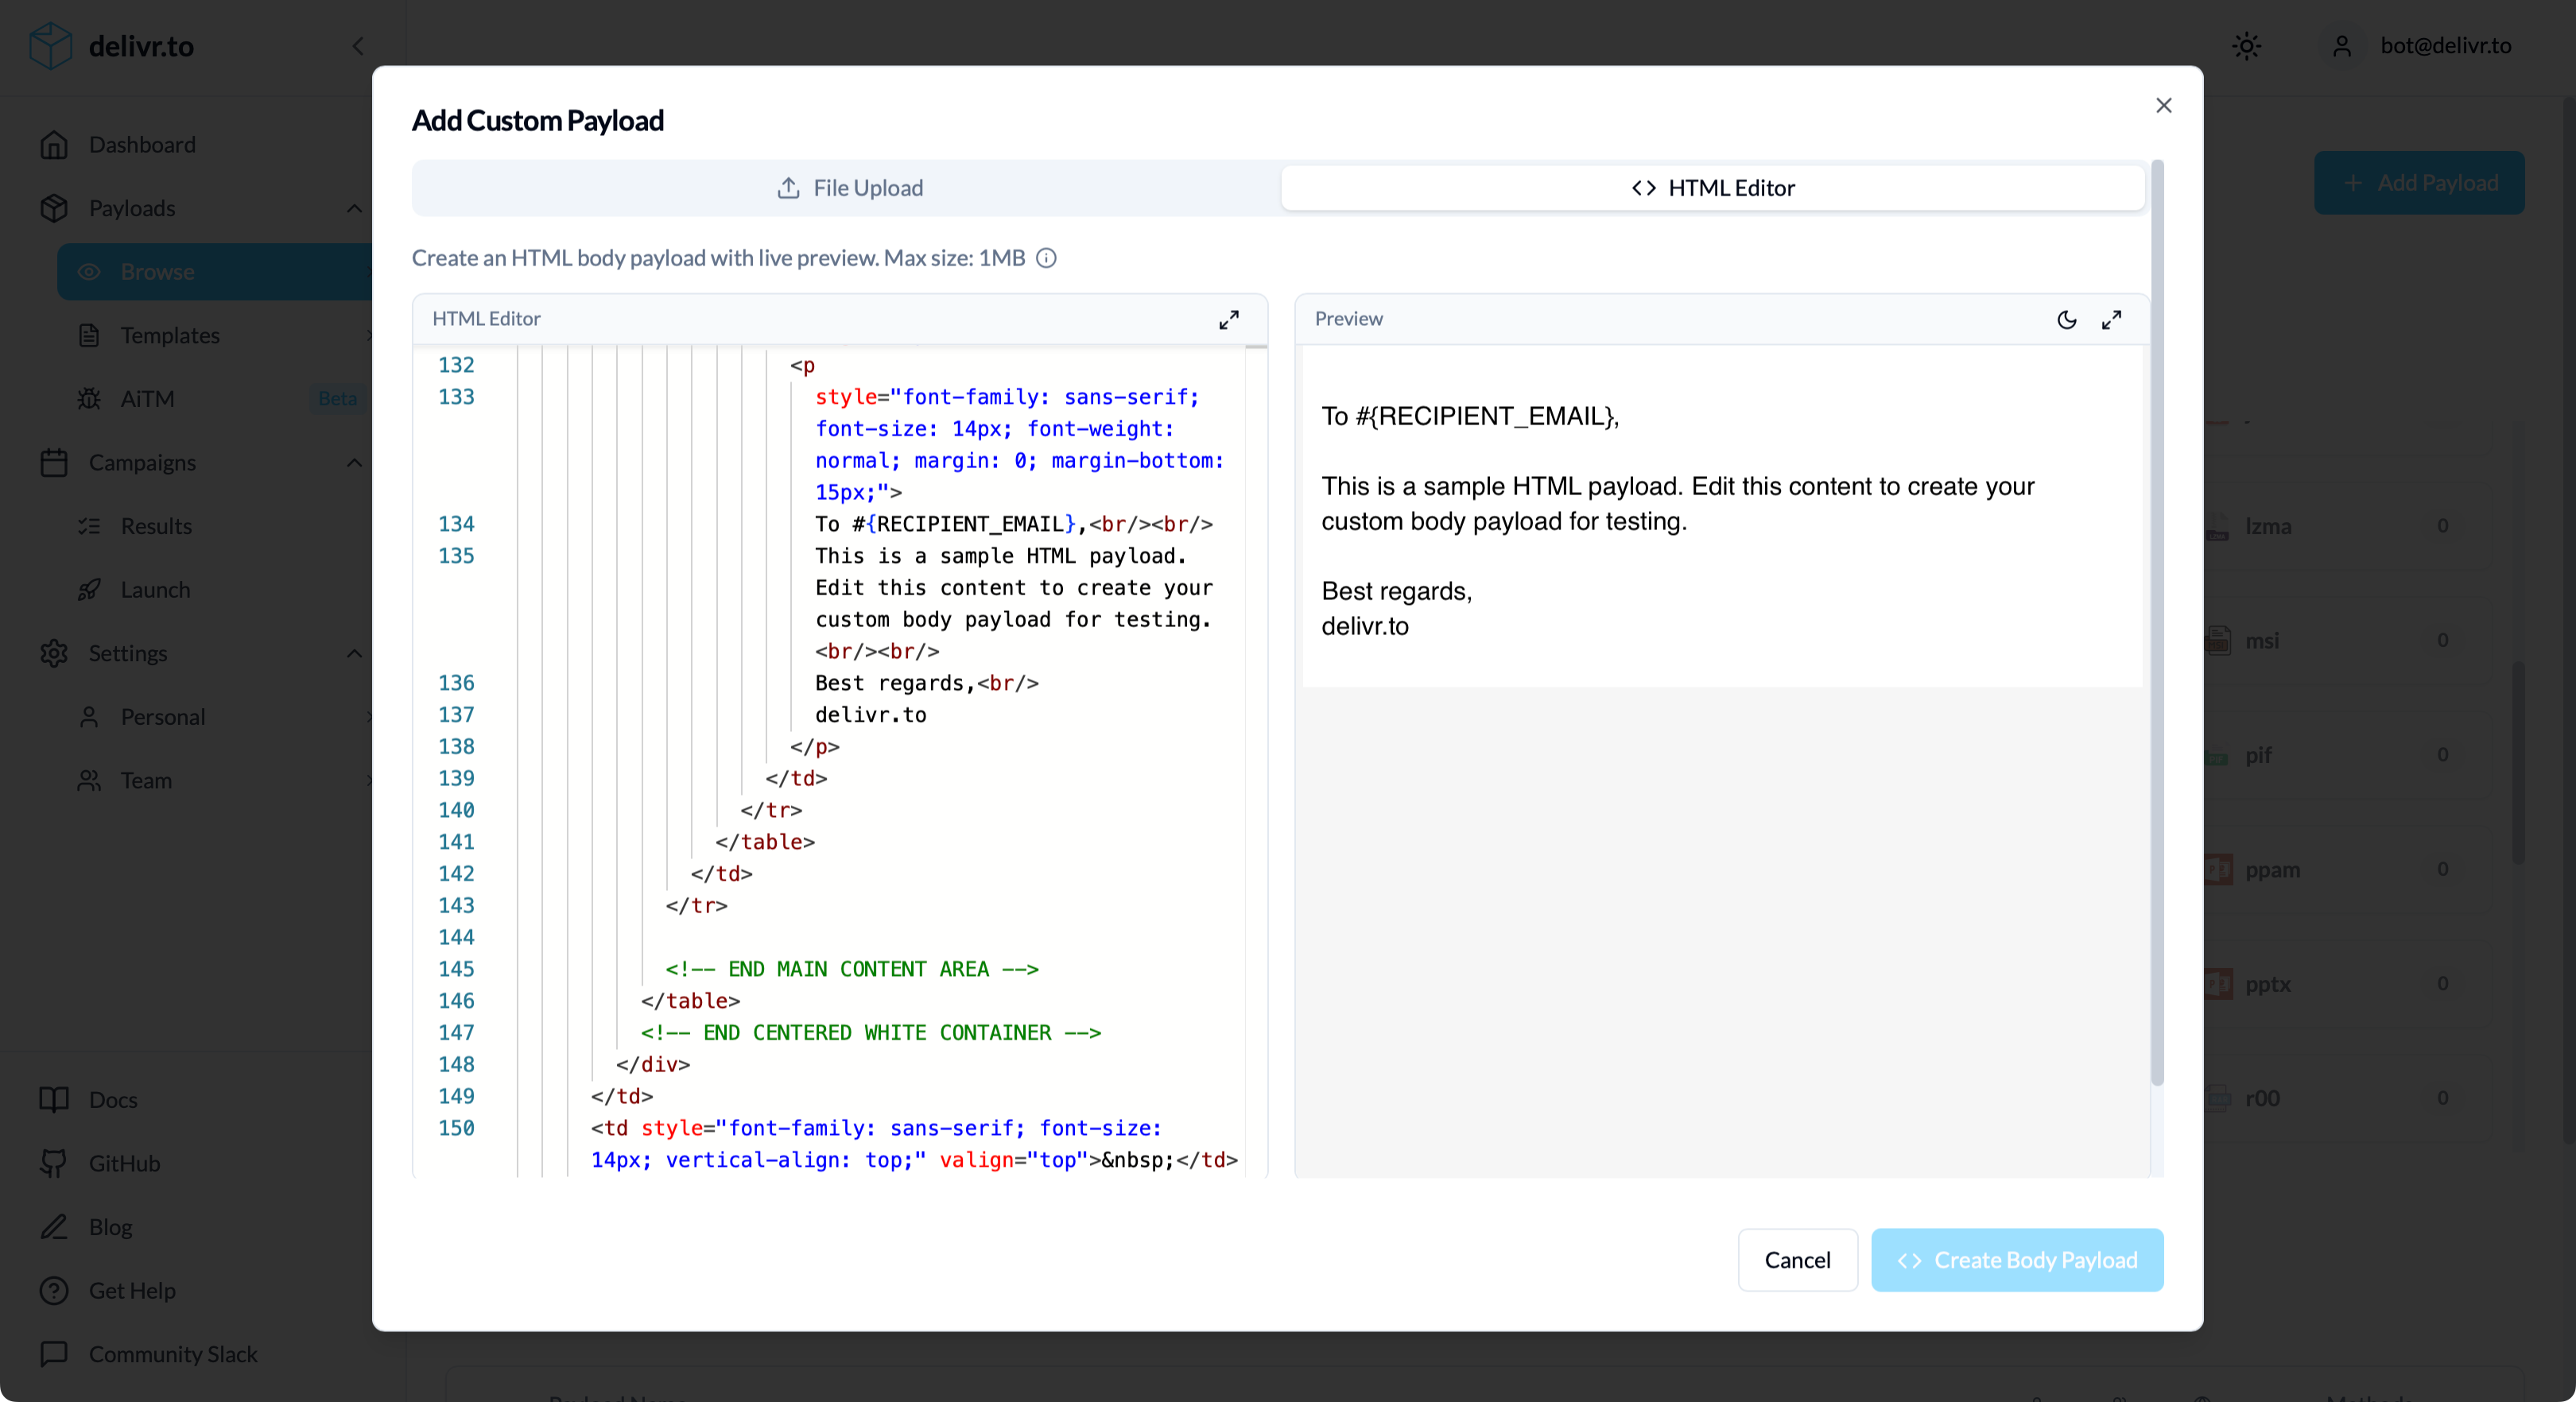
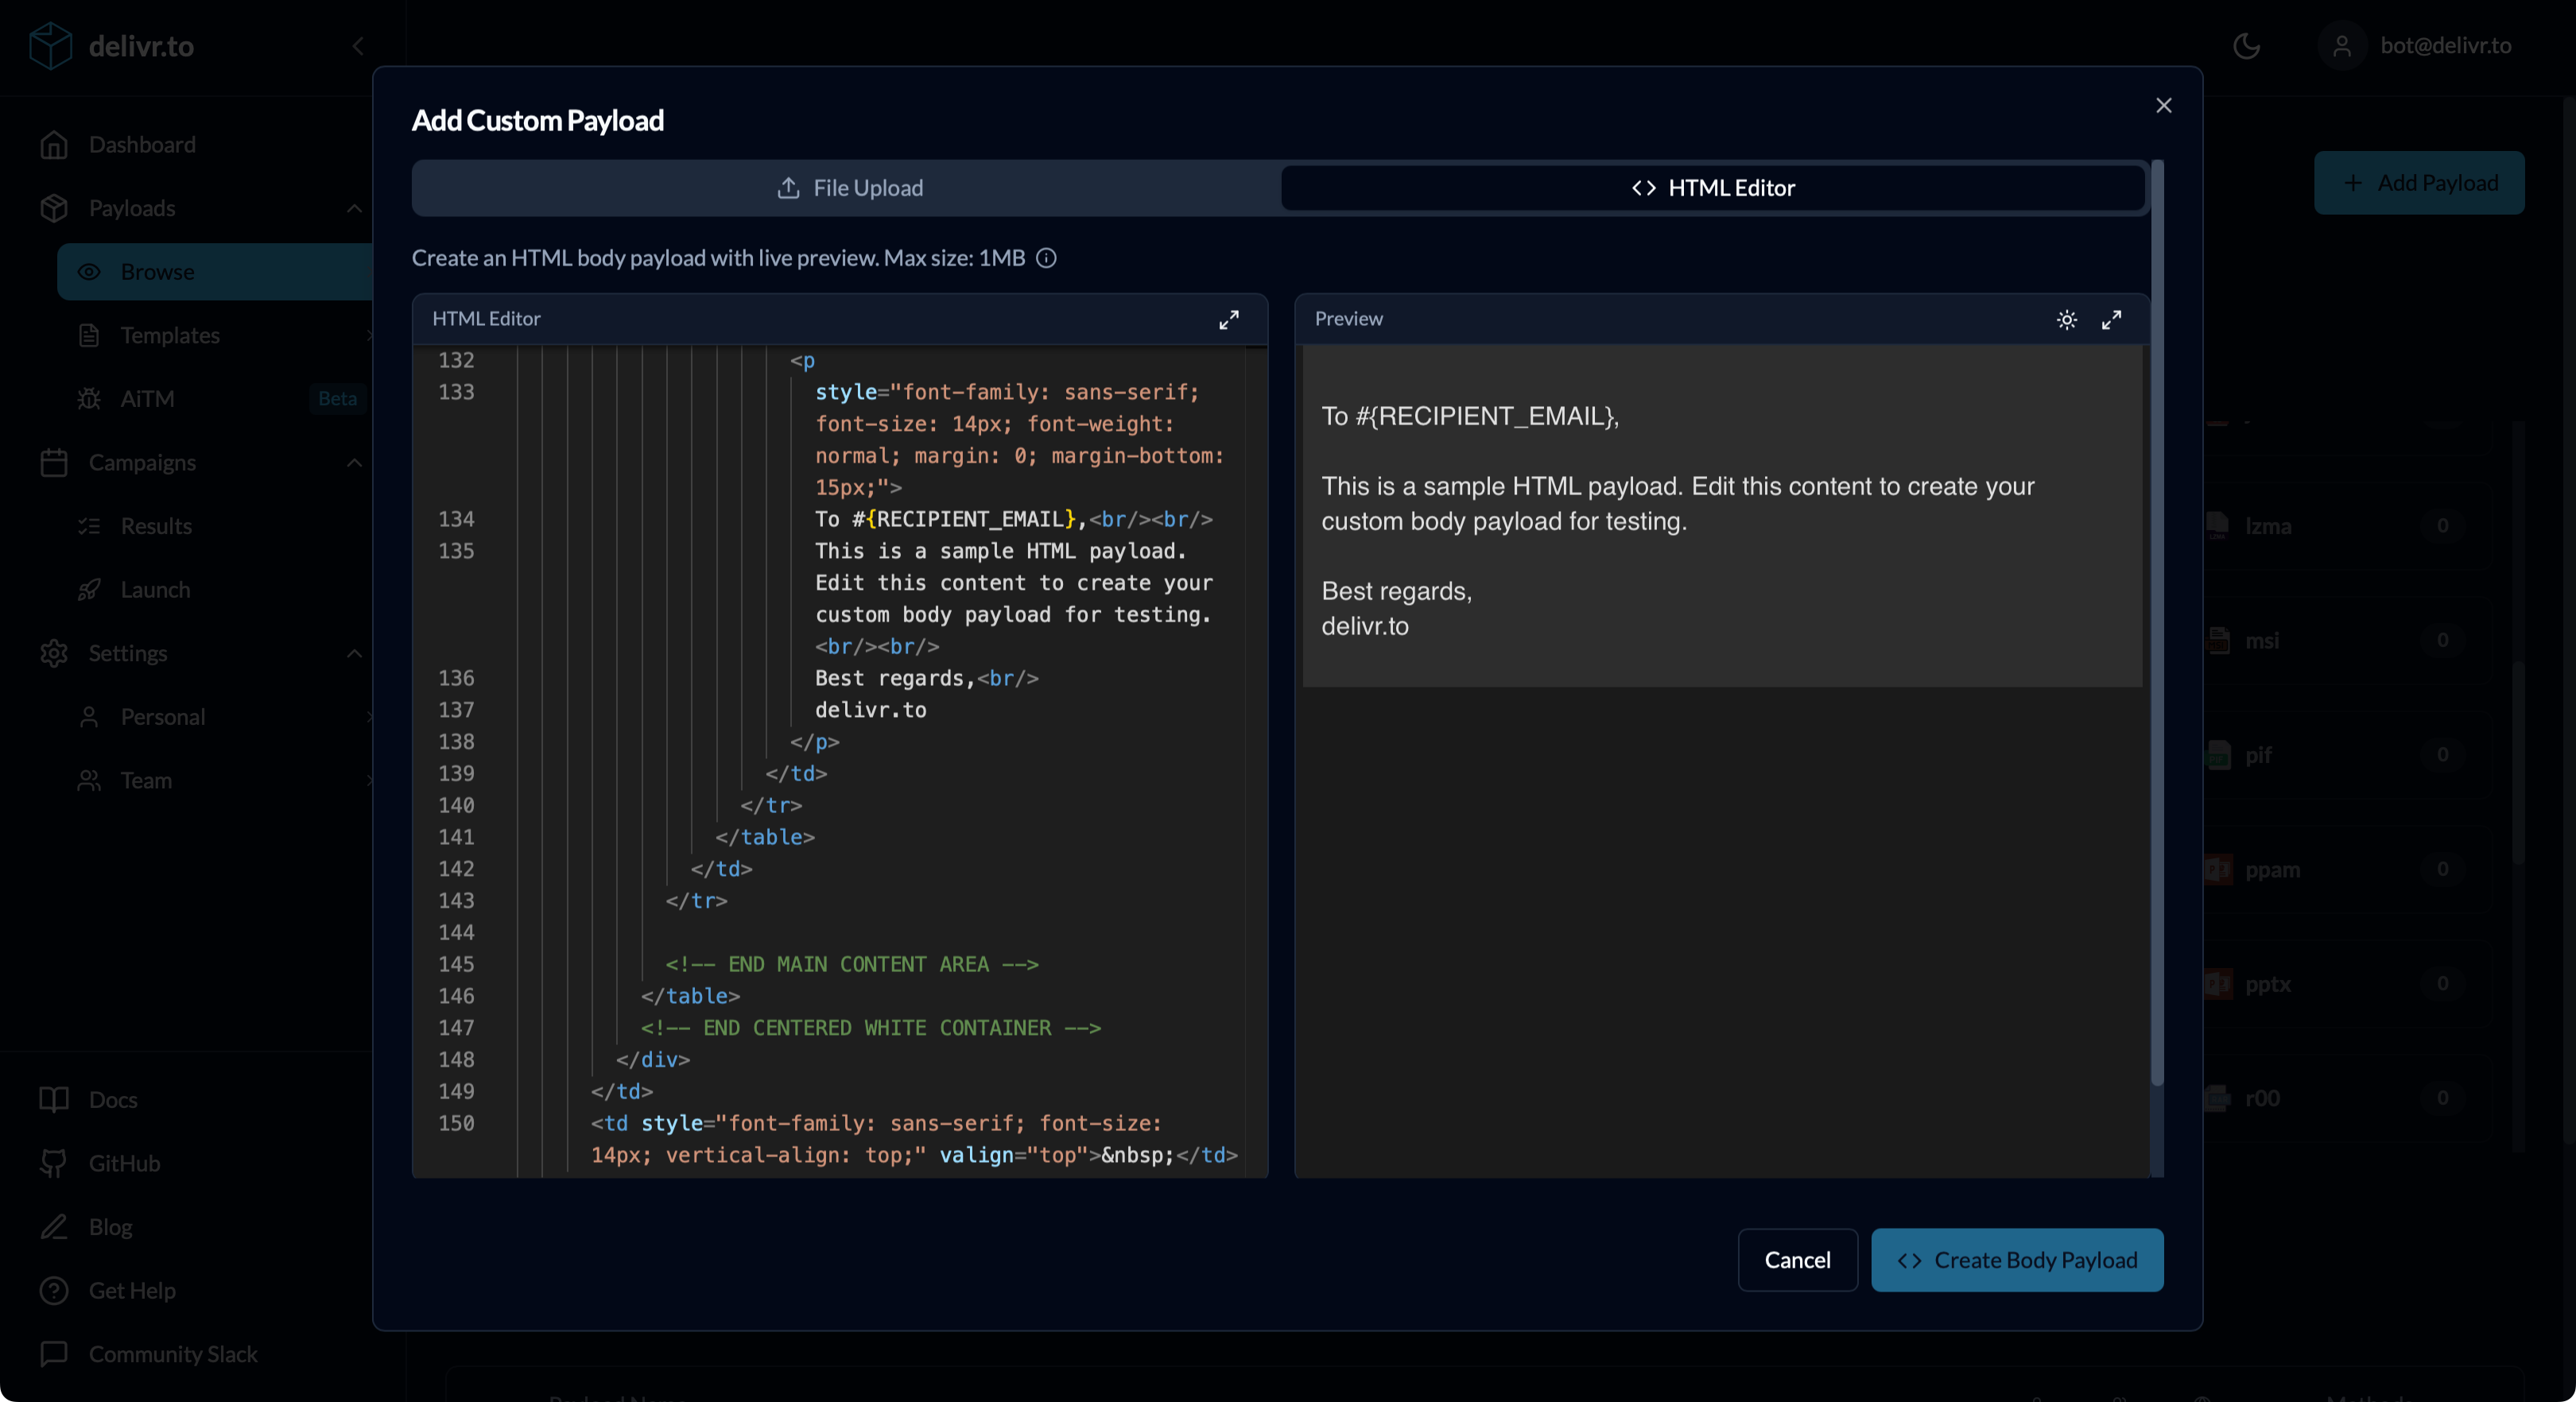
To create a custom email body, click the HTML Editor tab from the top of the Add Payload modal.
- Edit HTML (configure body, embed Base64 image elements, preview in light and dark with the ‘Preview’ toggle)
- Configure metadata:
- Name — Auto-populated from filename, editable
- Description — Explain what the payload tests
- Tags — Add searchable labels (press Enter or comma to add)
- Delivery Methods — Select which methods this payload supports (likely just body, but if it’s multi-purpose you can select others)
- Click Create Body Payload
Deleting Custom Payloads
- Click the three-dot menu on your payload
- Select Delete Payload
- Confirm the deletion
Warning: Deleting a payload removes it from any templates that include it.
Ownership
Throughout the platform you’ll see custom payloads with an ownership icon to indicate who owns them:
| Icon | Meaning |
|---|---|
| 👤 | Created by you |
| 👥 | Created by a team member |